How to Design a Custom Solid Wood Side Table: A Step-by-Step Guide
Designing a custom solid wood side table is an exciting and personal process that results in a unique piece of furniture perfectly tailored to your style and needs. In this expanded guide, we’ll walk you through each detailed step of the process, so you know exactly how to bring your vision to life and create a stunning side table for your home.
Step 1: Initial Consultation
The first step in creating your custom side table begins with a consultation. During this phase, you’ll share your ideas, preferences, and any inspiration you’ve gathered for your table. Whether you already have a clear vision or need guidance from our design experts, this is where we gather all the essential details, including dimensions, wood preferences, and any special features you want to include, such as epoxy resin or unique finishes.
Step 2: Choosing the Wood
Selecting the right wood is one of the most crucial decisions. Each wood species brings its own unique character to the table, influencing the overall look and feel. You’ll have the chance to choose from premium hardwoods like walnut, oak, cherry, or olive. Each wood is hand-selected for its grain pattern, durability, and aesthetic appeal. Whether you prefer the deep tones of walnut or the lighter hues of oak, your choice sets the foundation for your table’s design.
Step 3: Design and Rendering
Once your wood is chosen, we move into the design phase. Our experienced designers will create a 3D SketchUp rendering of your custom table. This digital model gives you a visual representation of what the final product will look like, allowing you to see the proportions, the grain pattern, and how any special features, like epoxy or a live edge, will fit into the design. During this step, you’ll be able to request changes or adjustments until the design perfectly reflects your vision.

Step 4: Selecting the Finish
With the design set, the next step is choosing the finish. The finish not only enhances the natural beauty of the wood but also protects it from wear and tear. You can opt for a matte, satin, or glossy finish depending on the look you’re going for. Our team will guide you through the best options for your table’s intended use, whether it’s for a rustic look or a more contemporary polished style.
Step 5: Customizing the Table Base
A table’s base is just as important as the tabletop itself. During this stage, you’ll choose the base style and material that complements your wood selection. Options range from sleek metal legs to more traditional wooden bases. For those seeking something truly unique, we offer fully custom bases that match the overall aesthetic of the table while ensuring it is structurally sound.
Step 6: The Production Process
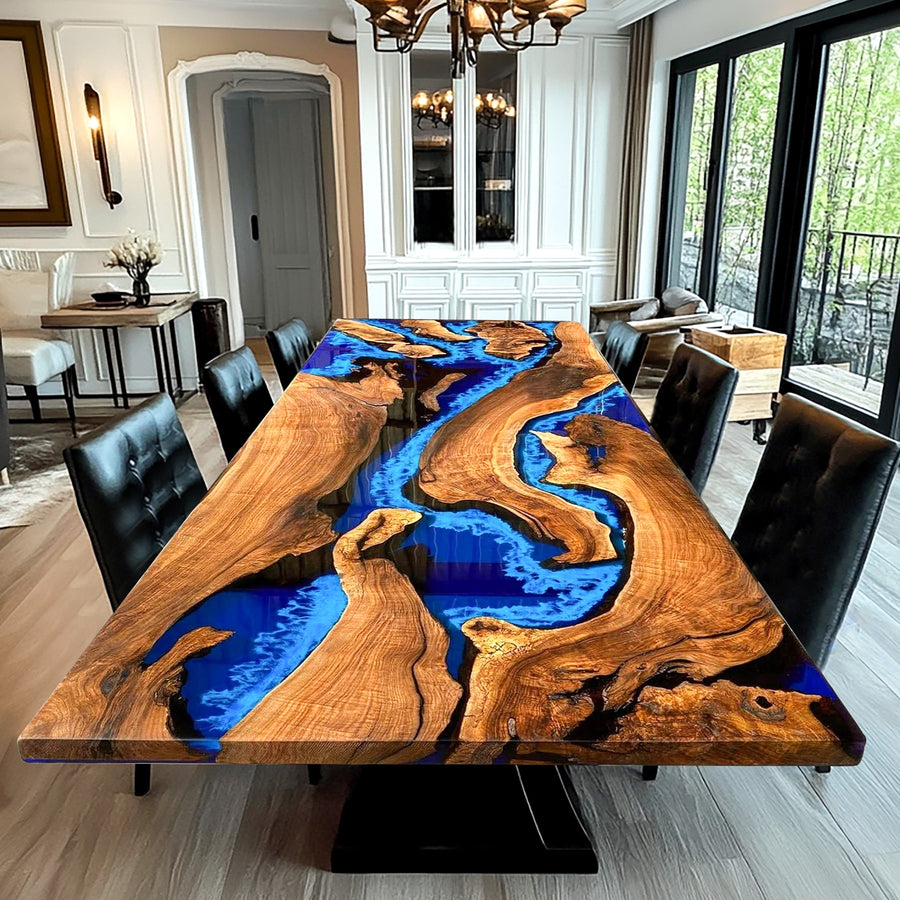
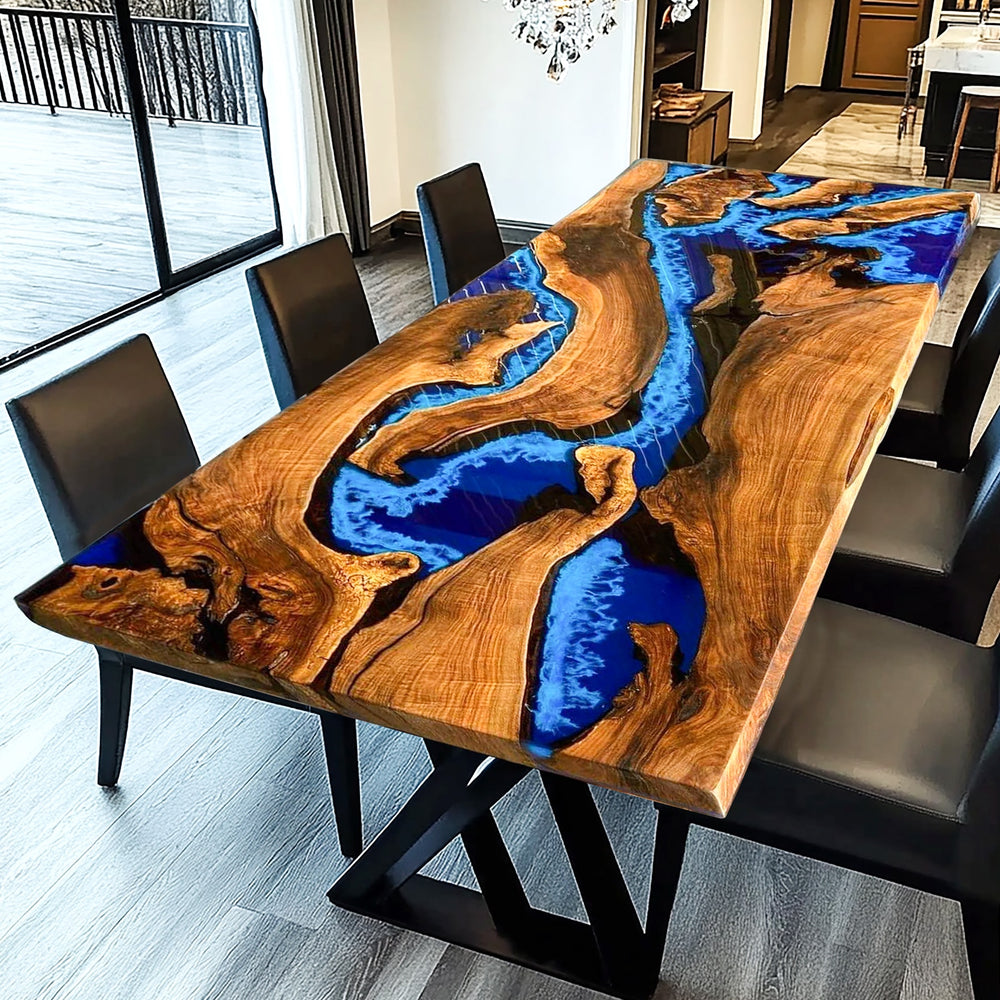
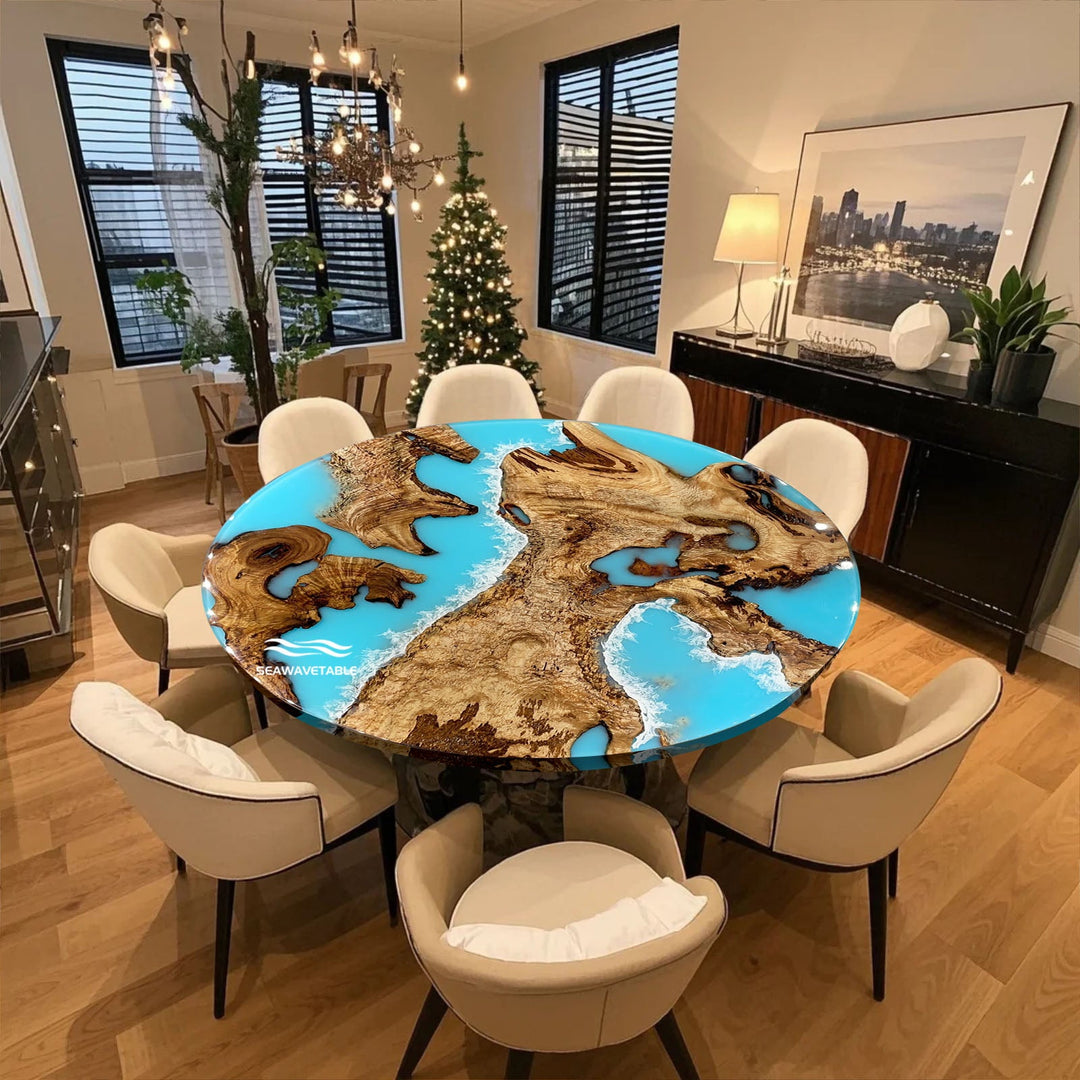
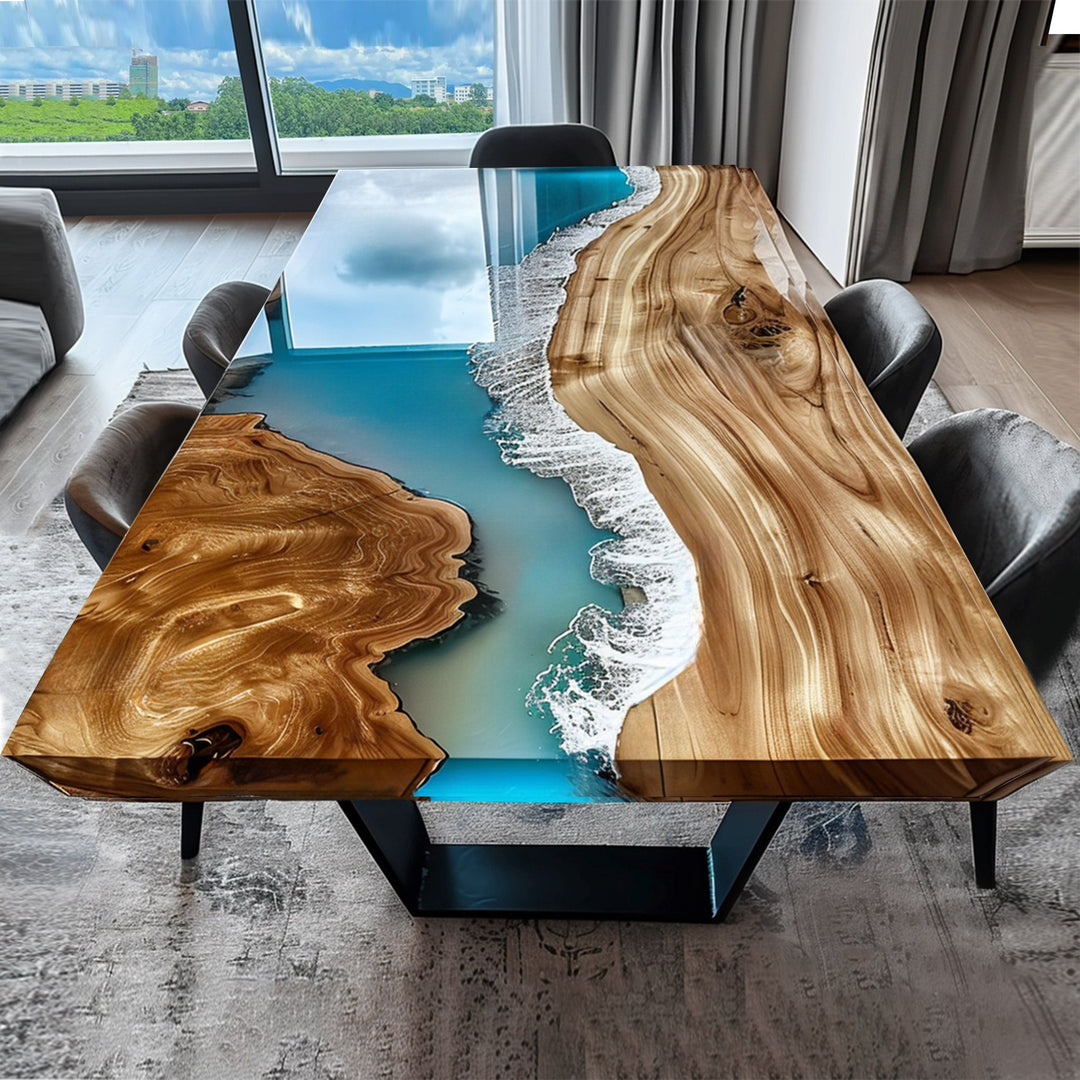
Once the design is finalized, your table moves into production. This phase combines art and craftsmanship as our skilled woodworkers begin shaping and assembling your table. The process includes joining the wood, sanding it to a smooth finish, and applying the protective finish. If you’ve opted for epoxy resin, this is the stage where the resin is poured and left to cure, creating a stunning river effect or accent within the wood.
Step 7: Epoxy Resin Selection (Optional)
For those who choose to incorporate epoxy into their table design, this step is where you’ll select the resin color and effect. Epoxy can be clear, tinted, or even contain elements like metallics or swirls to add a dynamic contrast to the wood. Whether you prefer a subtle enhancement or a bold statement, epoxy offers endless customization possibilities to make your table stand out.
Step 8: Quality Control and Refinement
After the production process, every table undergoes a rigorous quality control process. Our team inspects the table for craftsmanship, finish quality, and structural integrity. This step ensures that your table not only looks beautiful but is also durable and built to last. Any necessary refinements are made during this stage to ensure perfection.
Step 9: Delivery Timeline and Updates
Custom tables take time to craft, typically ranging from 9 to 11 weeks, depending on the complexity of the design. During this time, we’ll keep you updated with progress reports, including photos of key milestones like the wood selection, epoxy pouring, and final assembly. This ensures that you’re involved every step of the way and can provide input if needed.
Step 10: Final Review and Shipment
Once your custom solid wood side table is complete, we’ll send you final images for approval. If everything meets your expectations, we’ll arrange for secure packaging and shipment to your location. Our team takes great care in packaging your table to ensure it arrives in perfect condition.
Step 11: Handling Rush Requests
We understand that some projects come with tight deadlines, especially for events or holidays. If you need your table sooner, we’ll do our best to accommodate rush requests without compromising the quality of the craftsmanship. However, it’s essential to communicate any urgent timelines early on, so we can plan accordingly.
Step 12: Post-Delivery Support
Once your table has been delivered, we continue to offer support. Whether it’s advice on maintenance, questions about care, or tips for keeping your table looking its best, our team is here to assist you long after your table arrives in your home.
Conclusion
Designing a custom solid wood side table is a deeply rewarding experience, resulting in a one-of-a-kind piece that’s both functional and a work of art. By carefully considering every step—from wood selection to design, production, and finishing—you’ll create a table that will be cherished for years to come. If you’re ready to start your custom furniture journey, contact SEAWAVETABLE today, and let us help you design the perfect table for your space!


