Manufacturing Process
Resin Furniture Production Process
1. Wood Selection:
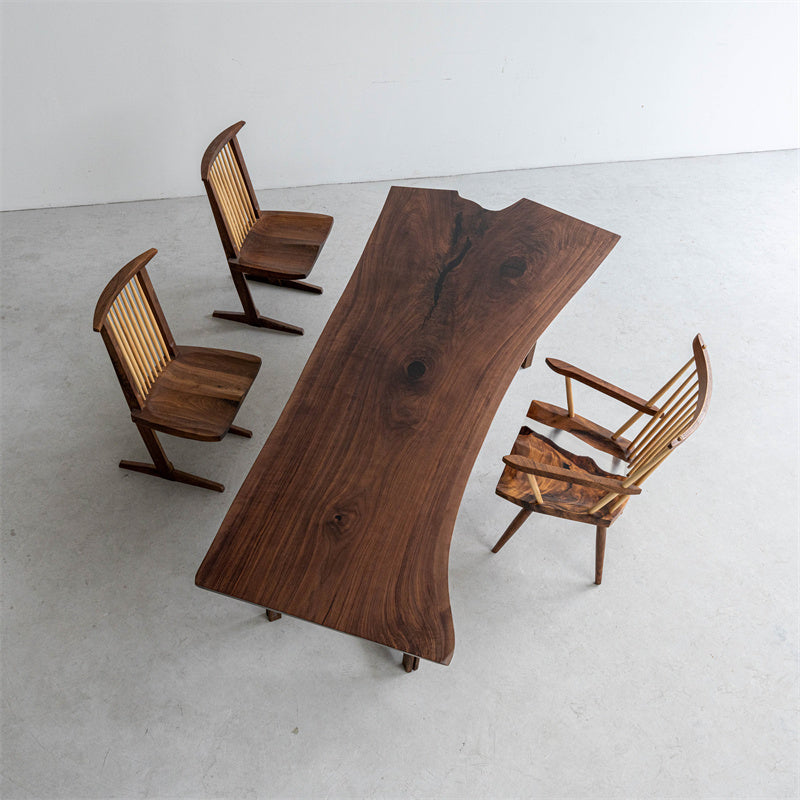
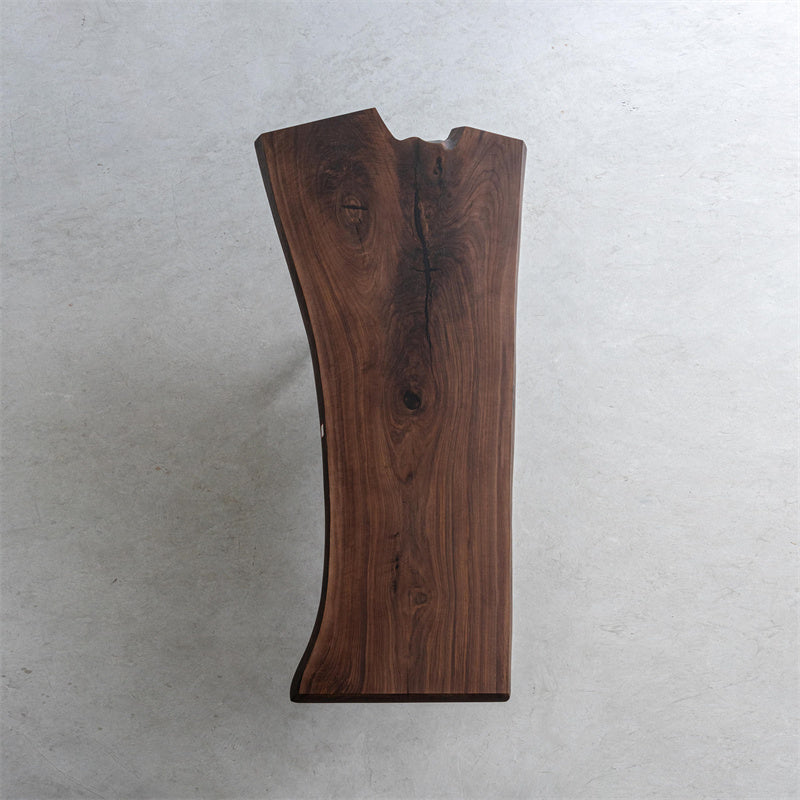
- Wood Types: Choose from black walnut, walnut, ash, cedar, poplar, olive wood, etc.
- Wood Shapes: Select natural shapes or those modified through design.
- Natural Characteristics: Consider features such as knots, burls, grain patterns, natural cracks, end cracks, mineral streaks, insect holes, resin pockets, and sap stains.

2. Wood and Color Confirmation:
- Confirm the selected wood and its color simultaneously with the selection process to ensure the best match.
3. Material Preparation:
- Cleaning: Thoroughly clean the wood to remove impurities for a smoother texture. Note that the cleaned wood may slightly differ from the original selection.
- Edge Preparation: Natural wood edges may be charred during cutting for a better effect unless specified otherwise.


4. Painting/Resin Application:
- Apply resin to fix bacteria and dust and reduce bubbles. Resin application is preferable for better results.

5. Sizing and Shaping:
- Trim and shape the wood to the required dimensions.

6. Resin Preparation:
- Use a vacuum machine to remove small bubbles from the resin. This process typically takes 30-60 minutes.

7. Resin Pouring:
- Pour resin in layers, removing large bubbles with a blowtorch as they rise to the surface. Repeat this process for each layer.
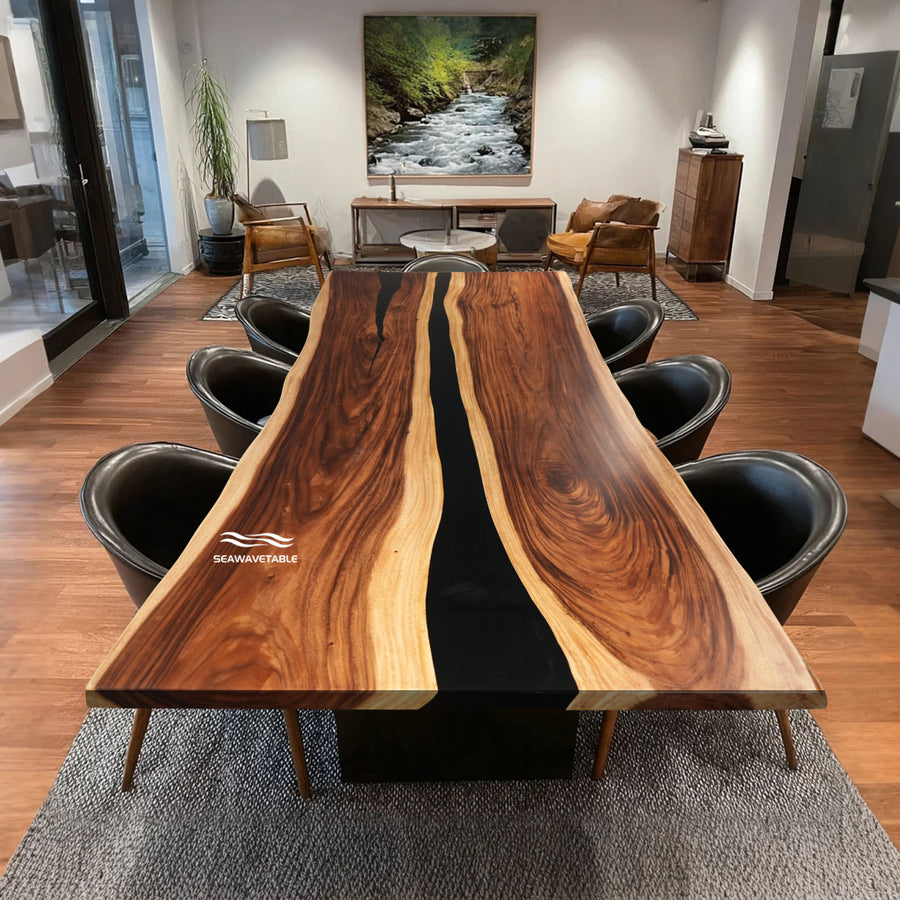
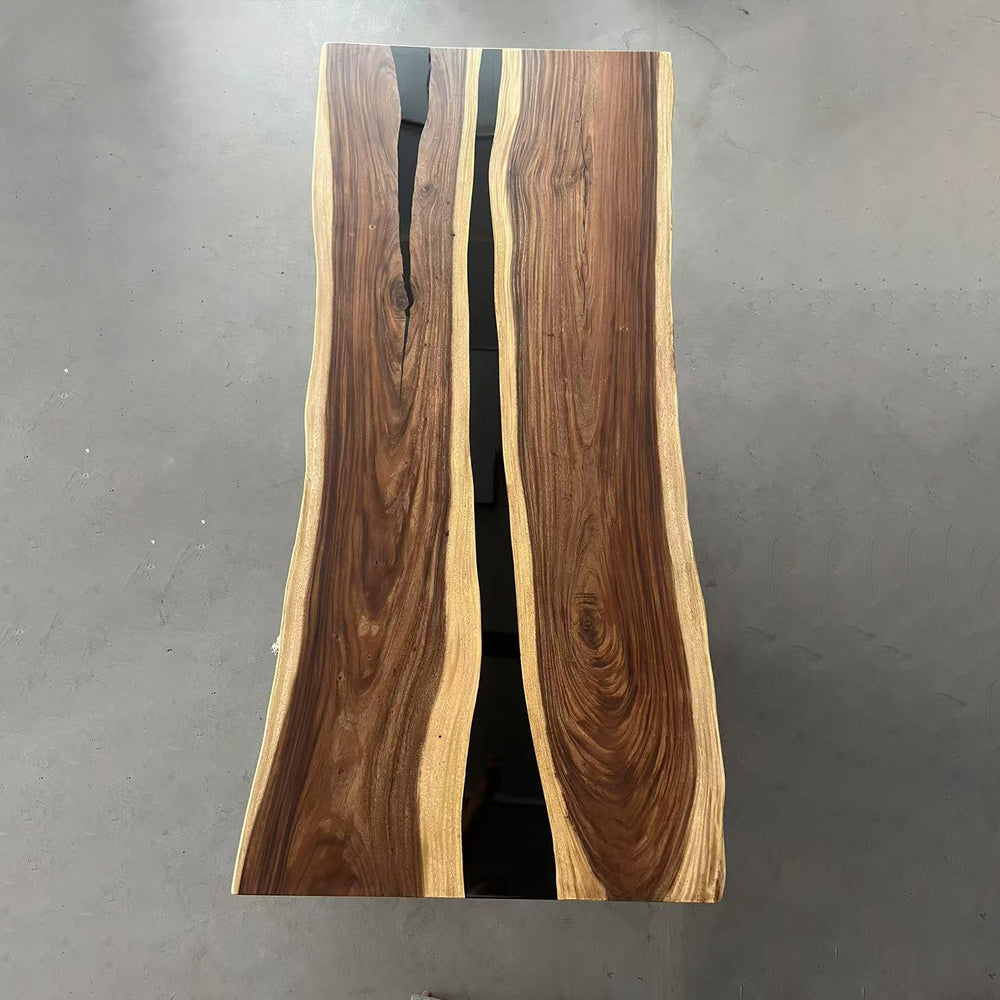
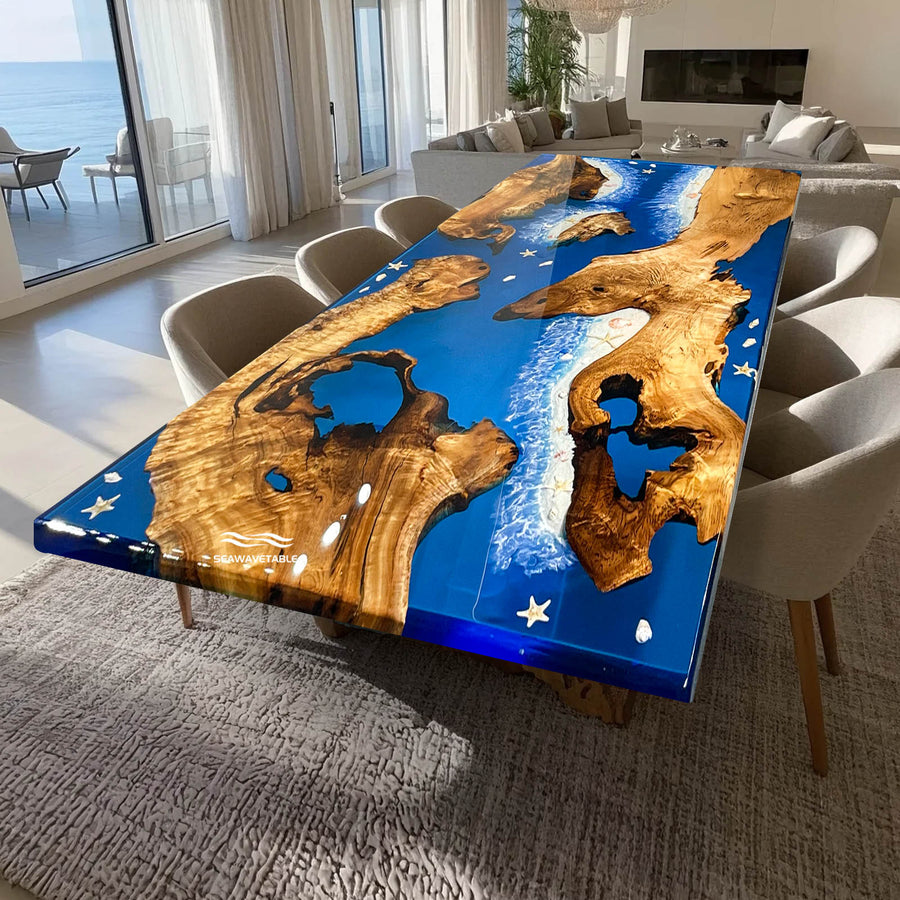
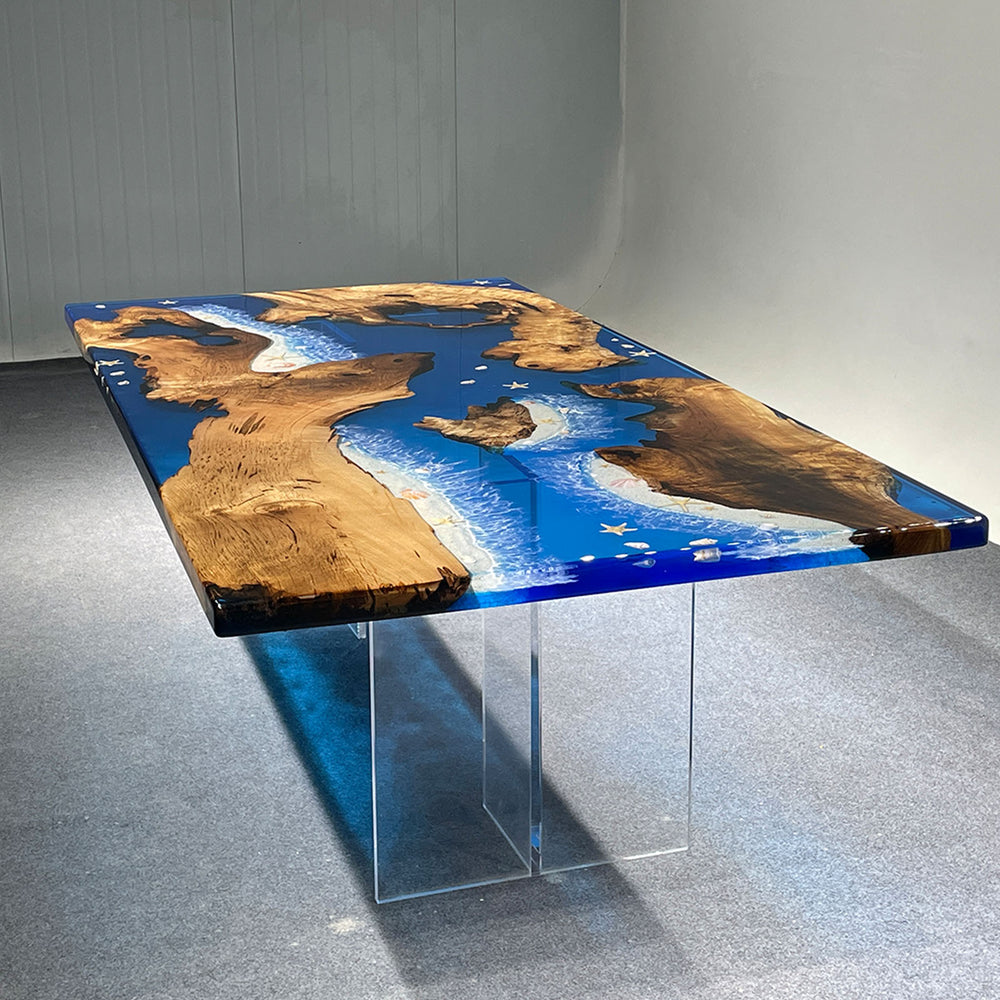
- Typically, 3-5 layers of resin are required depending on the desired thickness. For ocean wave effects, more layers may be needed. Each layer needs about 2 days to solidify; the final layer may take slightly longer.

8. Demolding:
- Remove the cured piece from the mold.

9. Excess Wood Removal:
- Sand off the excess wood to achieve a smooth surface.

10. Sanding and Varnishing:
- Sand the surface and apply a scratch-resistant varnish, repeating the process 5-6 times, sanding and sealing any holes each time.
- Use a thinner to clean and enhance the color before applying the first coat of varnish with a brush for better penetration.

11. Inspection and Resin Touch-Up:
- Inspect the piece thoroughly. Fill any resin gaps and polish raised areas to ensure a smooth finish.

12. Final Spray Painting:
- Apply the final coat of varnish using a spray gun in a dust-free room to minimize the chance of dust contamination.

13. Final Inspection and Packaging:
- Conduct a thorough final inspection. Once the piece passes the inspection, proceed with careful packaging:
- One layer of pearl cotton
- One layer of fabric
- One layer of cardboard
- Fabric strips for edge wrapping
- A wooden frame for added protection during transportation.

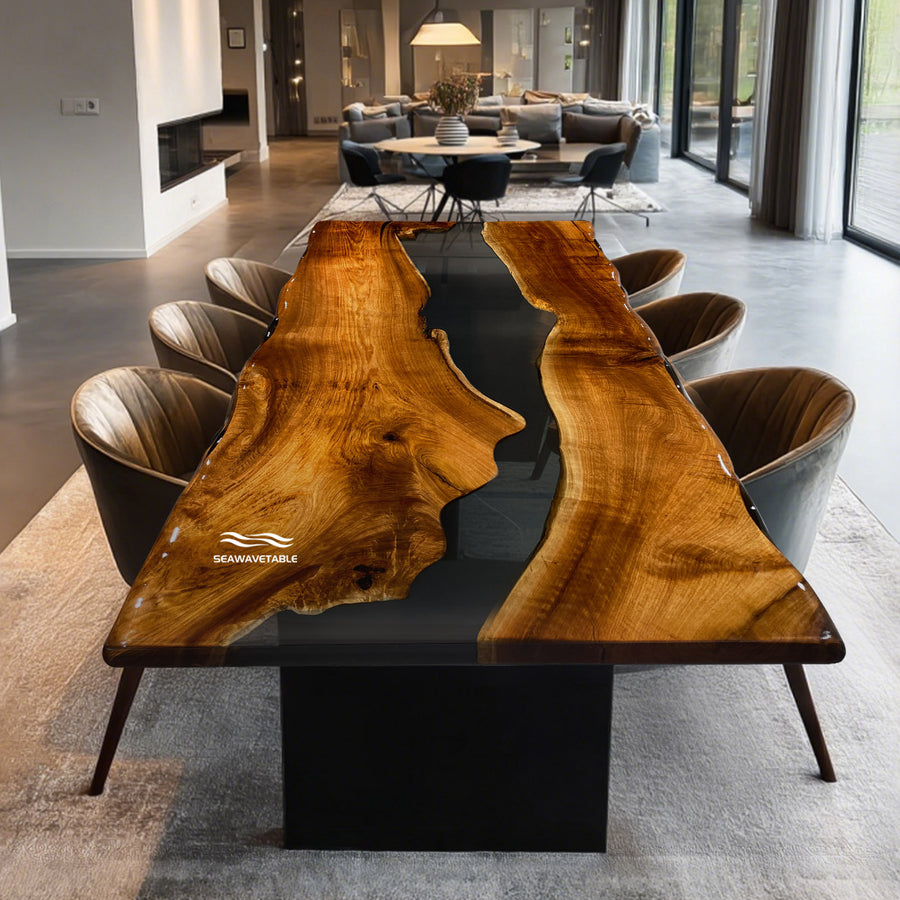
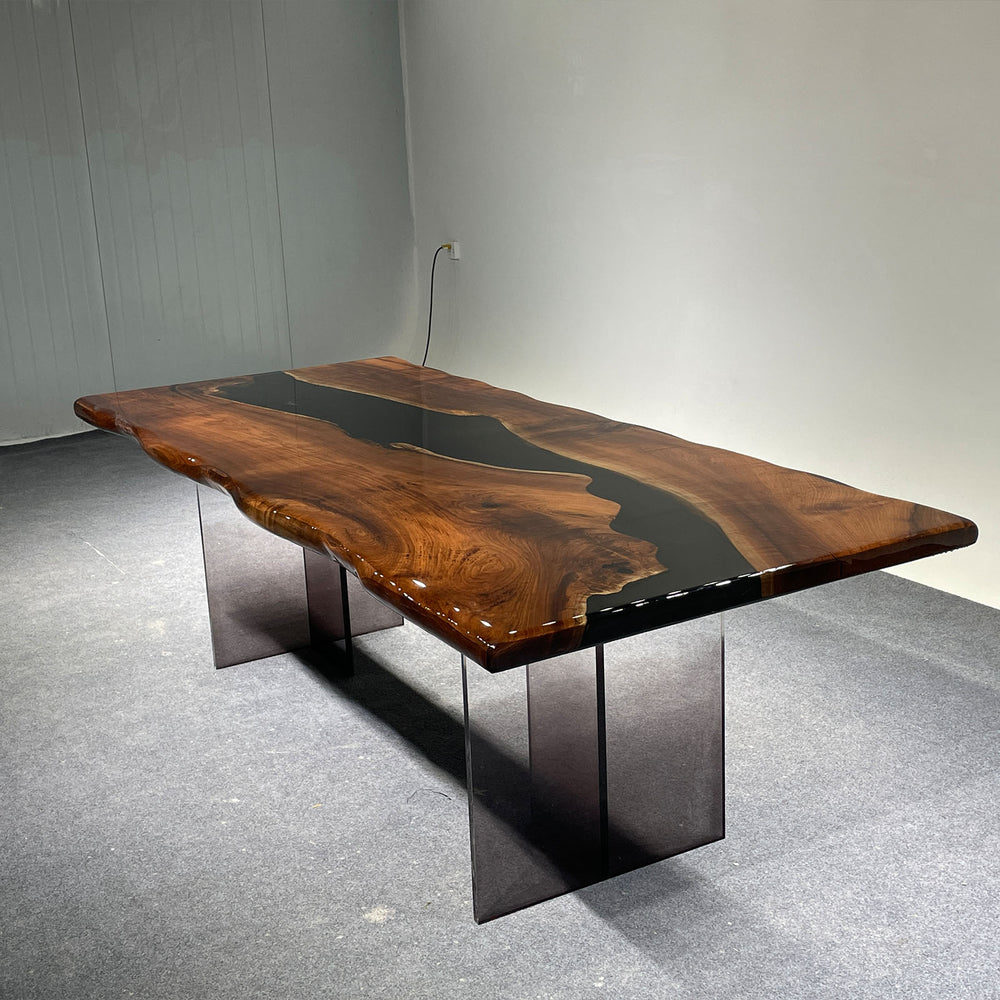
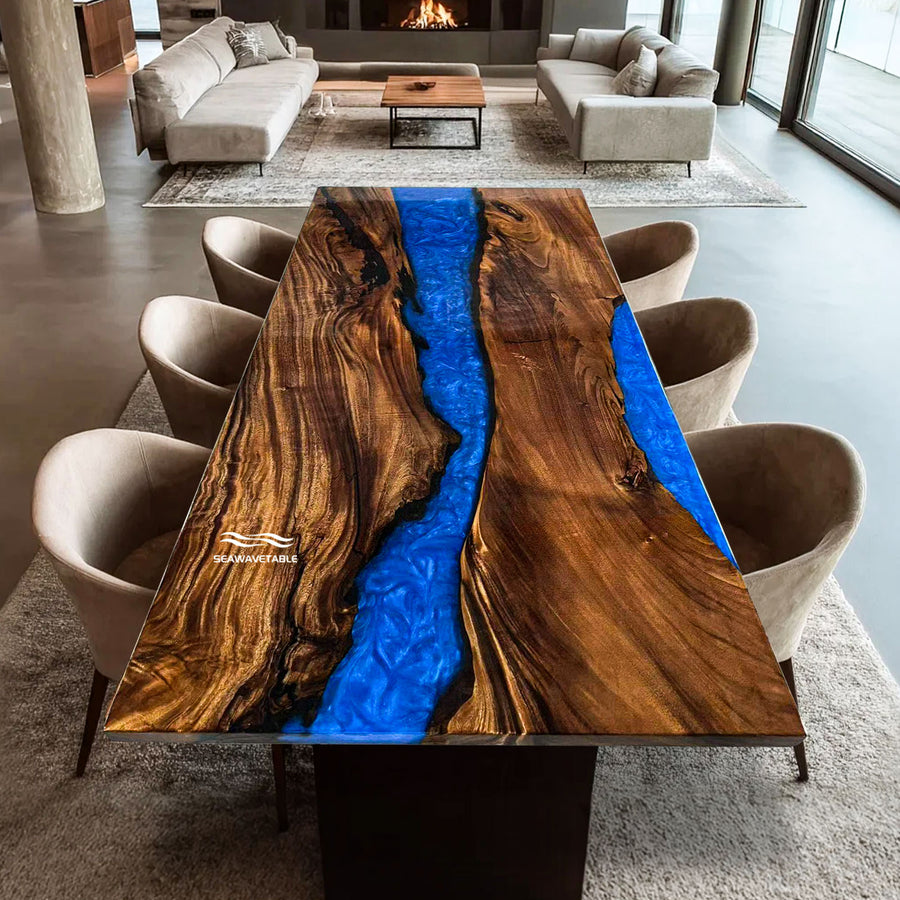
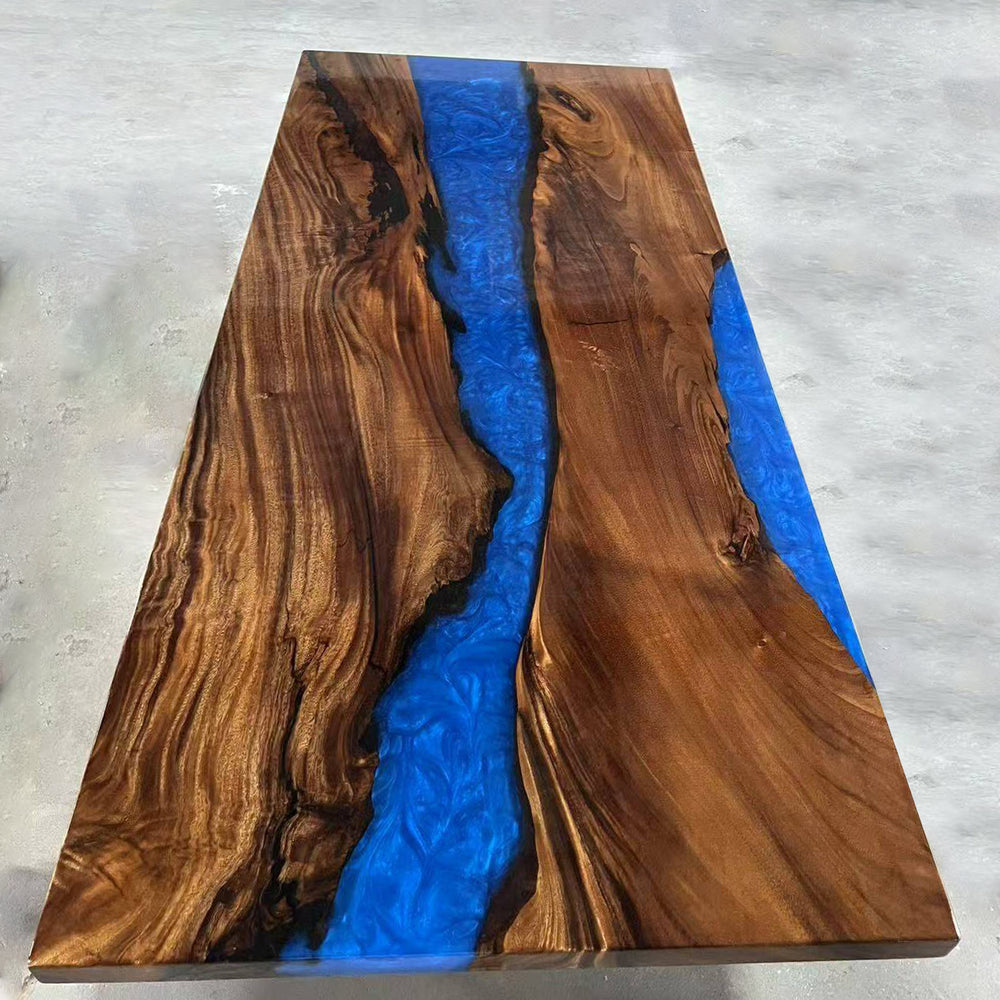
This streamlined process ensures each piece of resin furniture is crafted to perfection, combining beauty, functionality, and durability.


