


Customer Case Study: From Raw Wood to a Finished Masterpiece — The Making of a Walnut & Epoxy Table
At SeawaveTable, every piece begins with a raw slab of natural wood and transforms step-by-step into a functional work of art. Today, we’re excited to share a real customer case study that walks you through the entire process — from selecting the slab, trimming, and resin pouring to the final product and the customer’s feedback after receiving their table.
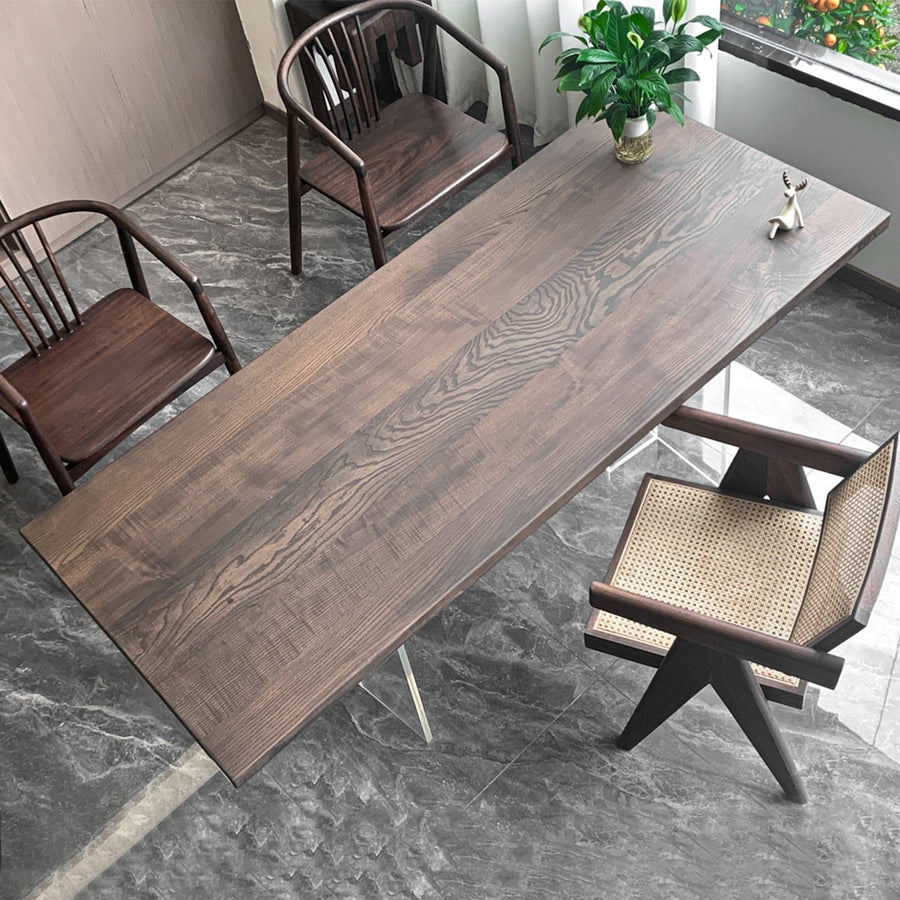
1. Wood Selection: Choosing the Perfect Slab With Character


For this project, we sourced a set of premium slabs. We pre-selected several boards for the customer based on:
-
Strong, flowing grain patterns
-
Natural live-edge contours
-
Unique voids and channels suitable for resin
-
A balanced shape for a dining table surface
The customer ultimately chose a slab with beautiful swirling grain that looks almost like a landscape — the perfect foundation for a stunning resin design.
2. Trimming & Preparing the Wood: Shaping the Future Table


Once the slab was confirmed, we moved into preparation work. This included:
-
Cutting and squaring the edges as needed
-
Removing soft or compromised wood sections
-
Leveling the slab
-
Multiple rounds of sanding
-
Sealing the edges to prevent air bubbles during resin pour
After preparation, the slab revealed even richer grain and organic character, ready for the resin stage.
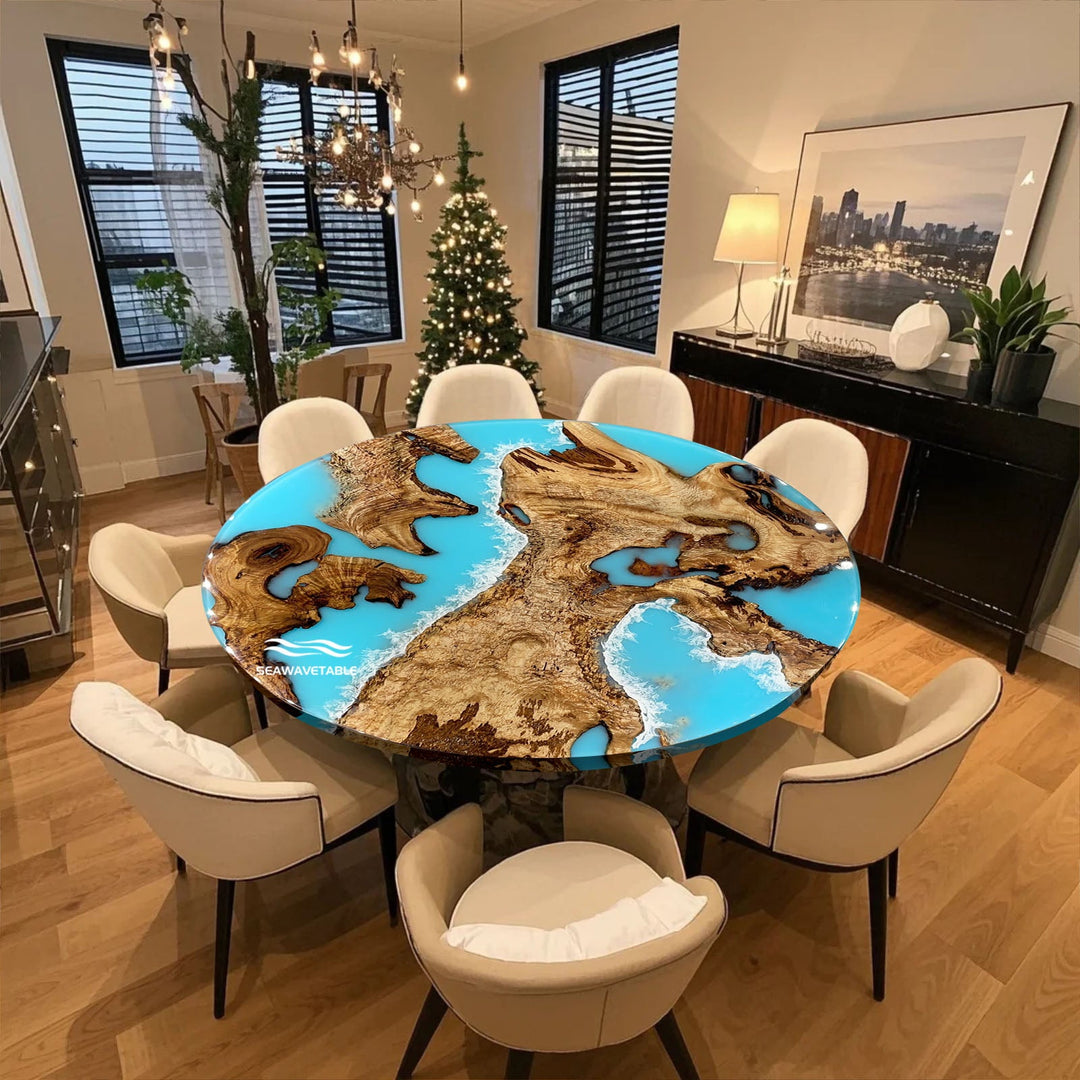
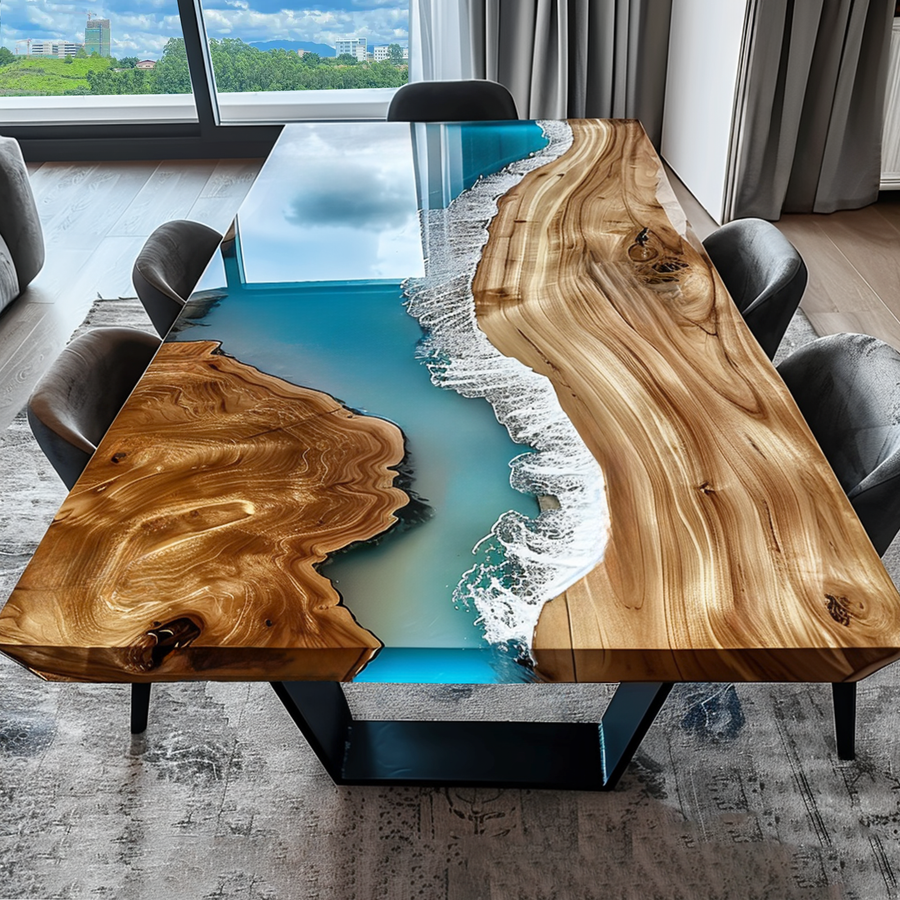
3. Resin Pouring: Bringing Wood and Color Together


For the resin portion, the customer selected a deep ocean / mystic blue tone — a color that pairs beautifully with walnut’s warm brown hues.
Our team carefully:
-
Mixed high-clarity casting epoxy
-
Created a gradient effect using pigments
-
Poured the resin into the custom mold
-
Allowed each layer to cure slowly to prevent bubbling
The resin formed a vivid, glass-like river that complimented the natural contours of the wood.
4. Finishing: Turning Craftsmanship Into a Final Product


Once cured, the table went through:
-
Heavy sanding and refinement
-
Multiple coats of protective finish
-
Final polishing for a smooth, satin surface
The result was a stunning walnut & epoxy piece — bold in design but timeless in feel.
5. Customer Delivery & Feedback: A Perfect Fit for Their Home


After delivery, the customer shared their excitement:
“The table is absolutely beautiful. The craftsmanship is outstanding and the resin color turned out even better than I expected. It’s truly a centerpiece in my home. Thank you!”
Hearing this is always the best part of our work — seeing our craftsmanship become part of someone’s daily living space.
Conclusion
This project is a great example of how raw wood, thoughtful design, and skilled craftsmanship can come together to create something completely one-of-a-kind. Every slab is unique, and every customer vision becomes its own story.
If you’d like to customize your own walnut & epoxy table, we’re here to help you bring your idea to life.
From the blog
View all