


Designing with the Wood, Not Against It: Our Approach to Resin Tables
A good resin table should not start with a resin color or a ready-made “river” shape. It should start with the wood. First, we look at the grain, natural edges, knots, holes, and color changes. Then we decide where resin is actually useful. It may fill a gap, keep a beautiful edge visible, or help the top reach the right size. This simple approach lets the wood stay in charge.

This does not mean we leave every rough area as it is. A dining table still needs the right size, comfortable proportions, a stable base, and a completely flat surface. The wood and resin must be at exactly the same height. Nothing should catch a plate, glass, hand, or cleaning cloth. The goal is simple: keep the beauty of the wood while making a table that works well every day.
Start with the Slab’s Strongest Feature
Every slab has something special. It may be a long grain line, a warm patch of color, a group of small knots, or one beautiful natural edge. Before deciding the final shape, we ask one question: what is the best part of this piece of wood?
If the grain is the best part, we keep it easy to see. If a natural hole makes the slab interesting, we may fill it with clear or lightly colored resin. If one edge has a beautiful curve, resin can keep that curve visible while giving the table a practical rectangular outside edge.
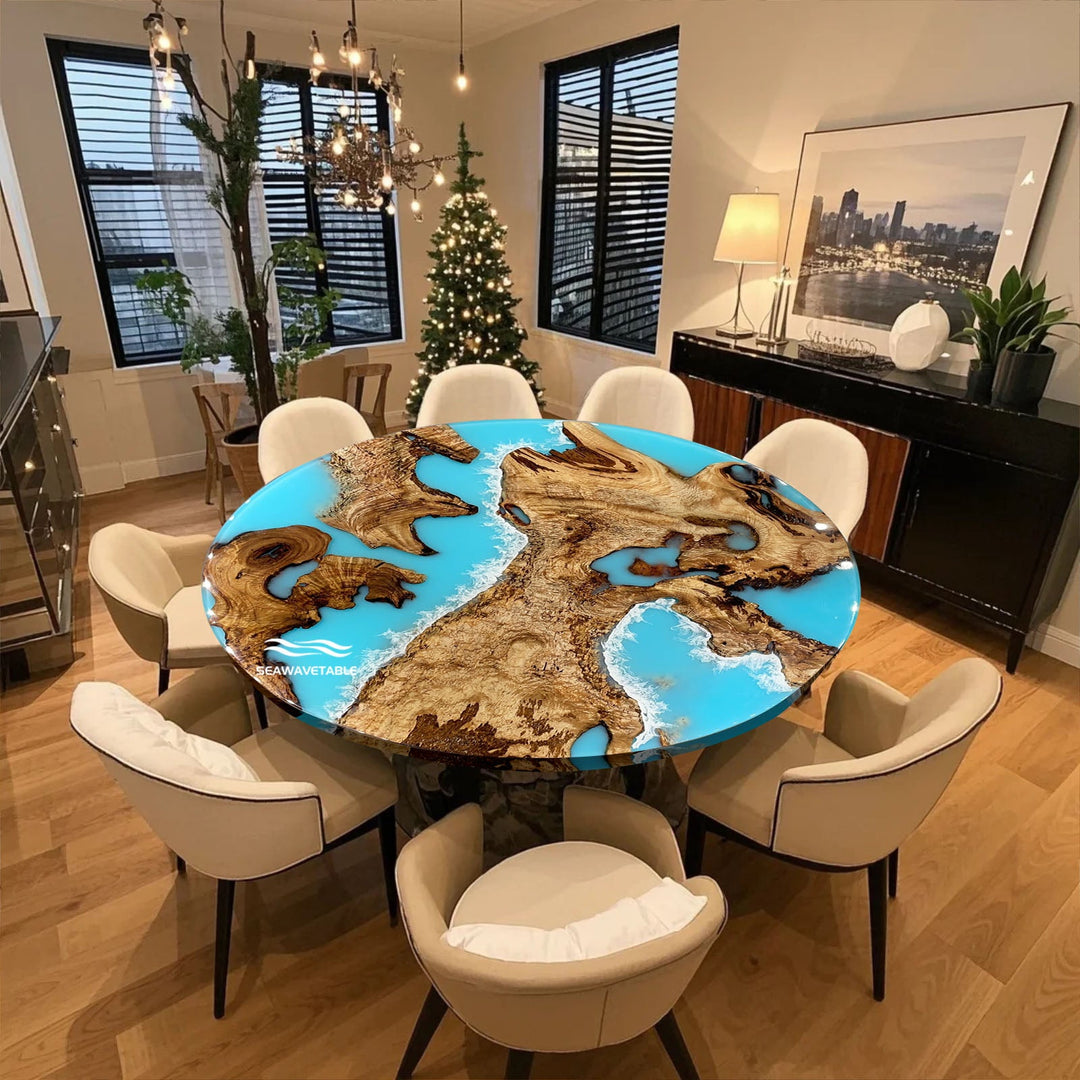
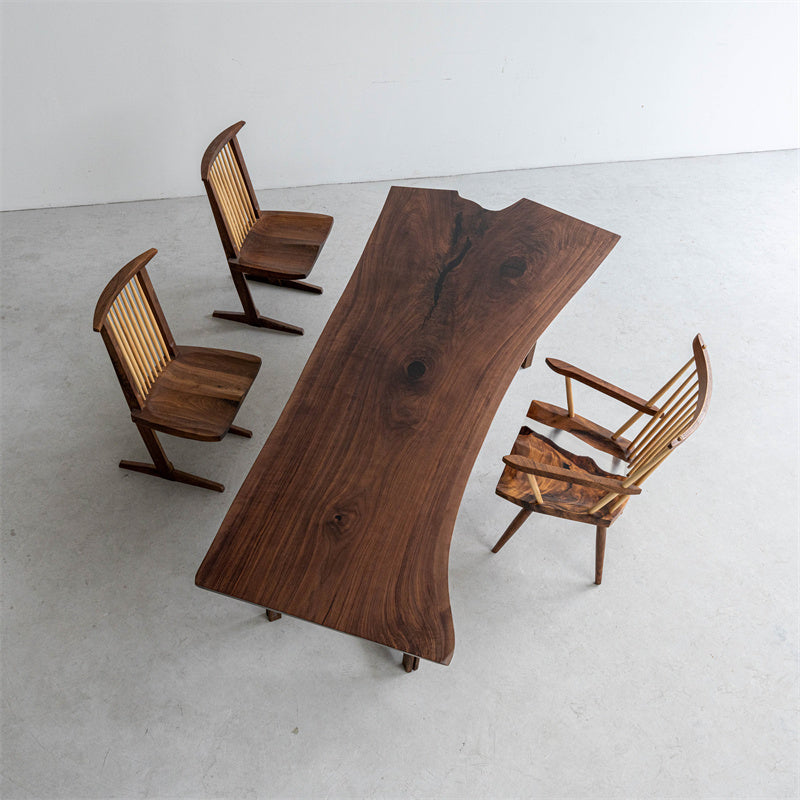
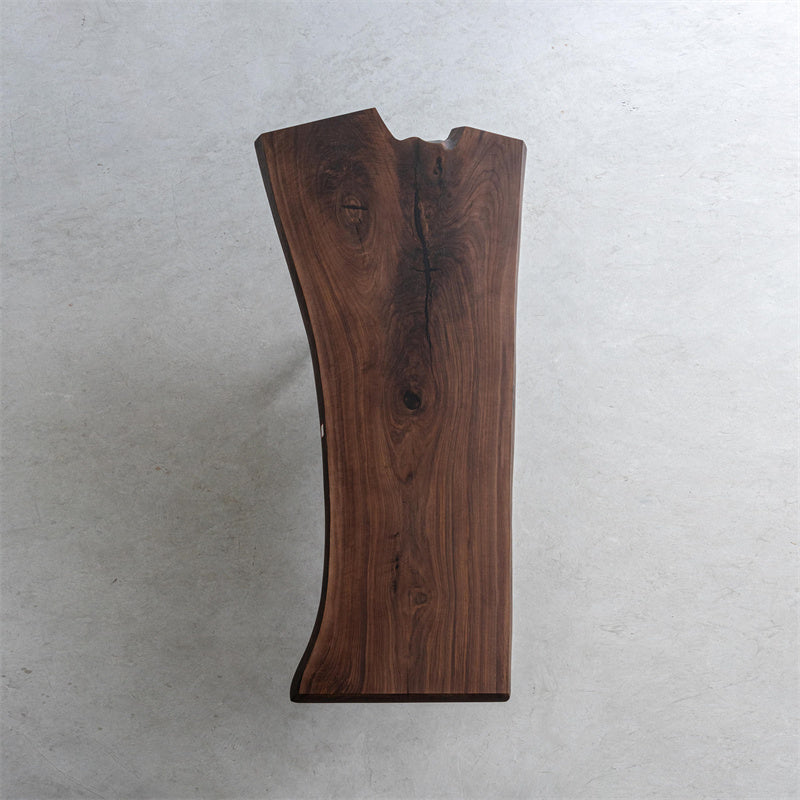
The Walnut Wood Live Edge Epoxy Resin Dining Table is a good example. Its walnut grain already has plenty to look at, so the resin does not need to be loud. The Olive Wood Live Edge Epoxy Resin Kitchen Dining Table is different, but the idea is the same. Its warm color, busy grain, and natural edge do most of the work.
Follow Grain Direction Instead of Forcing Symmetry
Wood grain naturally pulls your eyes along the table. On a long dining table, it usually runs from one end to the other. We follow that direction. A small resin-filled crack can run with the grain. Two pieces of wood can be placed so their main lines feel connected. We do not add a matching detail on the other side just to make both ends look the same.

Making both sides exactly the same can take away some of the wood’s natural feeling. The table still needs to look balanced, of course. If one area is very bold, another area can stay simple. A darker resin color can be used in a smaller amount. A clear section can make a heavy slab feel lighter. The table can be uneven in a natural way without looking messy.
The direction of the slab matters too. Turn the same slab around, and the table may feel very different in the room. That is why it helps to check a full top view before production, not just close-up wood photos.
Use Resin to Complete Voids, Not Hide Character
Knots, small cracks, and natural holes are not always flaws that need to disappear. Resin can fill some of them while keeping their original shapes visible. The finished top can still be smooth and easy to use. Clear resin feels light and quiet. Smoky or black resin gives the wood a stronger outline. Neither choice needs to turn into a wide stripe across the table.

We do not keep every hole or show off every crack. The table must be safe and stable first. We look at each natural mark and decide whether it should stand out, stay quiet, or be removed from the final layout.
The Custom Live Edge Olive Wood River Epoxy Dining Table CRT-116 offers a helpful product reference for how an irregular olive edge and resin can work together. For a darker interpretation, the Custom Epoxy Resin Live Edge Olive Wood Table CRT-051 shows how black resin can frame warm wood without erasing its figure.
Let Live Edges Shape the Composition
A live edge does not have to be the outside edge of the table. It can become the line where the wood meets the resin. This keeps the natural curve visible, while the outside of the table stays straight and easy to fit with chairs.

There are several simple options. Resin can fill one uneven corner, complete both long sides, or fill a small area near one edge. The slab decides how much is needed. A deep curve may need more resin to reach the correct table width. A nearly straight edge may need only a thin clear strip.
The goal is not to use as much resin as possible. It is to keep the best natural line and still make the size and shape the customer needs. The Olive Epoxy Table collection shows how different two olive-wood tables can look, even when they use the same kind of wood.
Balance Wood Mass, Resin Color, and Negative Space
Before choosing a resin color, look at how much wood will be visible. A large dark walnut slab can often handle a little charcoal or black resin. Olive wood with a lot of grain may look better with clear or neutral resin, because the wood already has plenty of detail.

Clear areas can make a heavy slab feel lighter. Solid-colored resin feels stronger and more modern. This is why color, transparency, and location should be chosen together.
The finish changes the look too. A polished top reflects more light. A softer finish looks calmer. Either way, the top should stay flat and smooth. Normal care still matters. Wood reacts to changes in moisture. Strong sunlight, high heat, and rough cleaning products can harm the finish. Epoxy can also scratch, so it is smart to use coasters and trivets and clean the table gently.
Turn the Slab into a Clear Customization Brief
A good custom request should be clear, but it does not need complicated design language. Start with the basics: table length, width, height, number of seats, room size, and the base you like. Then list the parts of the wood you most want to keep.

For example: “Please keep the long walnut grain as the main feature. Keep the curved natural edge, but place it inside a rectangular tabletop. Use clear smoky resin only in the edge gaps and small holes. Do not make a river through the middle. Make the whole top flat, with the wood and resin at the same height.” This is much clearer than simply saying, “Make it look natural.”
Also say what you do not want. That may include bright blue resin, two pieces of wood placed like a mirror image, a wide river in the middle, or objects set inside the resin. Before production, check the slab direction, table shape, resin areas, color sample, final size, and base. SeaWaveTable’s Buying Guide can help you make these choices. Our guide to nature-inspired resin tables has more room and style ideas.
When the wood leads the design, resin has a clear job. It can keep a live edge visible, fill a hole, add the width you need, or provide a little contrast. It does not need to cover the wood or fight for attention. If you are planning a custom table, start with the part of the wood you love most. Make every other choice around it.
Sources and Technical References
- USDA Forest Products Laboratory, Wood Handbook: Wood as an Engineering Material, for wood structure, moisture relationships, and dimensional behavior.
- National Park Service, Curatorial Care of Wooden Objects, for environmental and handling considerations for wood objects.
- Canadian Conservation Institute, Basic Care—Furniture and Objects Made of Wood, for light, humidity, cleaning, and furniture-care guidance.
- WEST SYSTEM, Final Epoxy Surface, for qualified epoxy finishing and ultraviolet-protection context.
Frequently Asked Questions
Does designing with the wood mean every table must have a live edge?
No. A straight or shaped outer edge can still respect the slab. The key is to let grain, color, and natural features guide the layout instead of applying the same resin pattern to every piece.
How much resin should a wood-led table use?
There is no fixed percentage. Use enough resin to complete the required size, stabilize appropriate void areas, and support the composition. If the resin becomes the first thing you notice when that was not the goal, the balance may need adjustment.
Can knots and cracks remain visible?
Some can remain visible or be filled with resin, depending on their condition and the production plan. Visual character should never take priority over a sound, stable, flat tabletop.
Should the resin color match or contrast with the wood?
Either can work. Clear and transparent neutral resin usually keeps attention on the wood. Black or darker tones create a stronger outline. Choose the color together with transparency and placement.
What should I approve before production?
Approve the actual slab or slab layout, orientation, finished dimensions, edge profile, resin zones, resin color and transparency, surface finish, and base design. Confirm that the final top will be smooth, level, and flush across both materials.
From the blog
View all