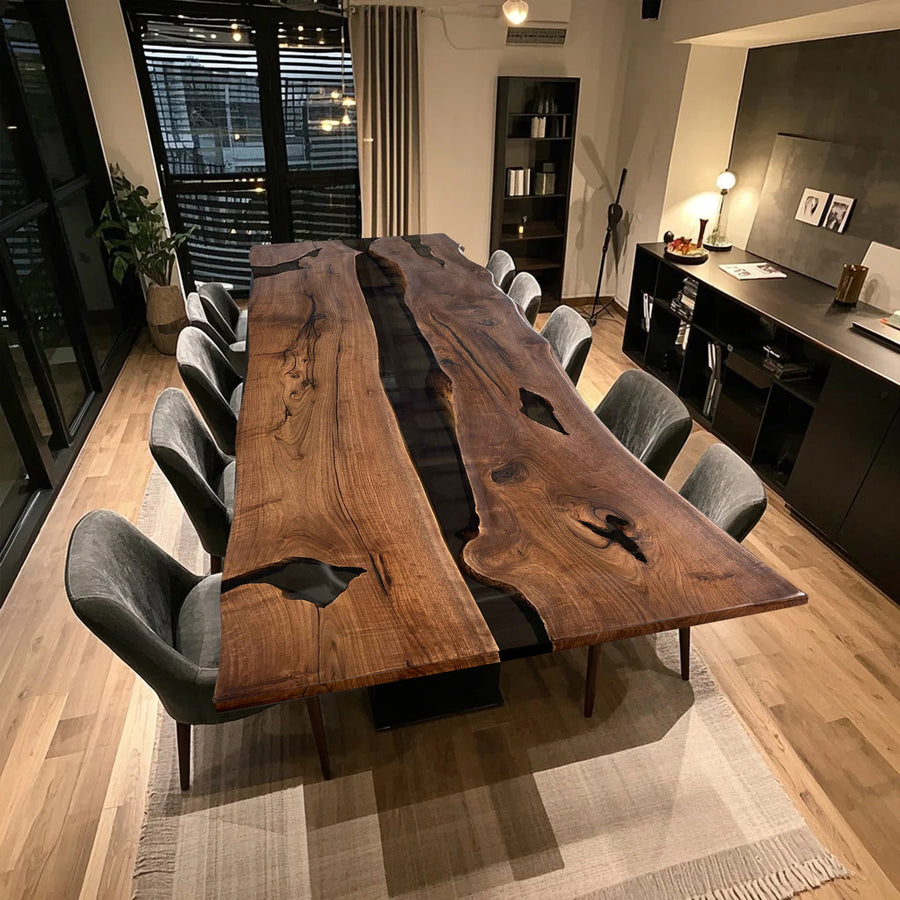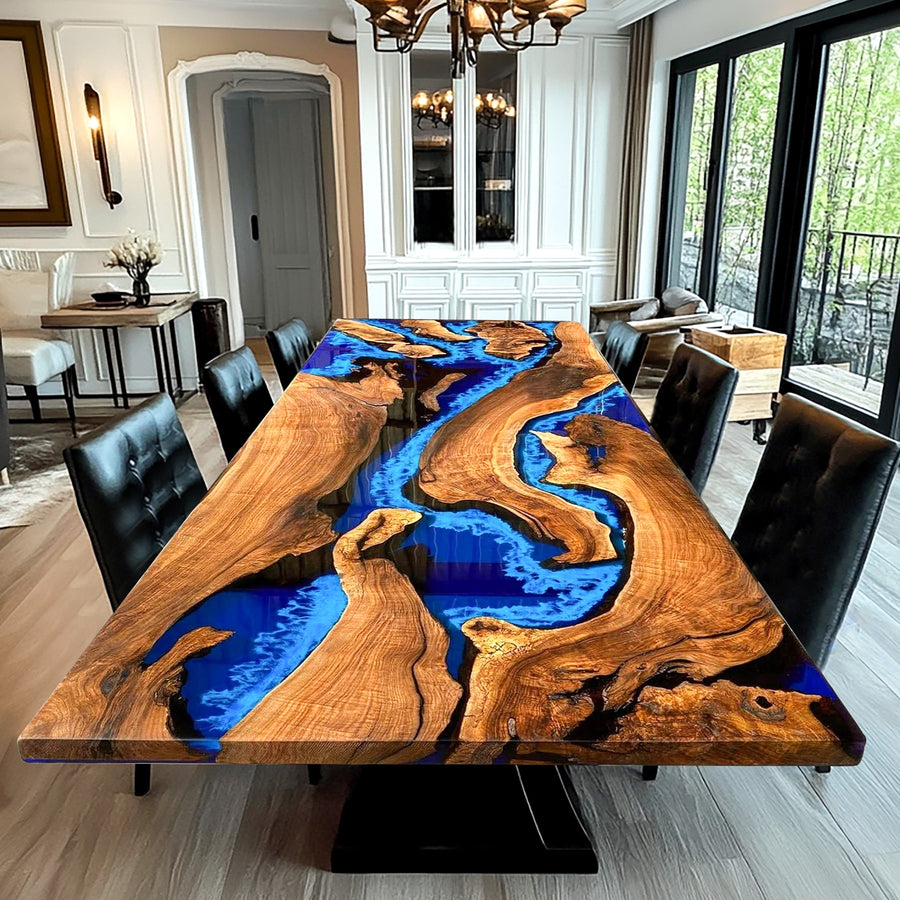
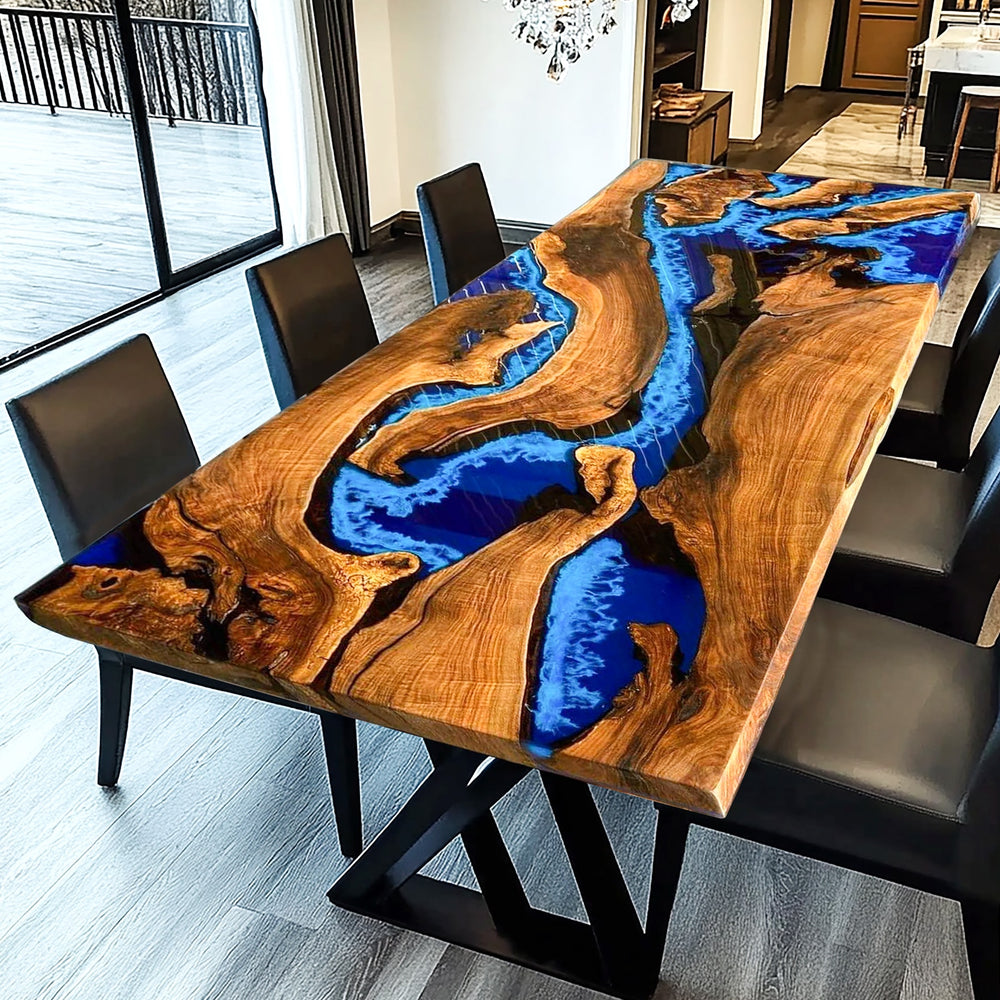


Custom Live Edge Epoxy Dining Table with Black Walnut CRT-174
Custom Live Edge Epoxy Dining Table with Black Walnut CRT-174
-
-
Regular price
$931.00

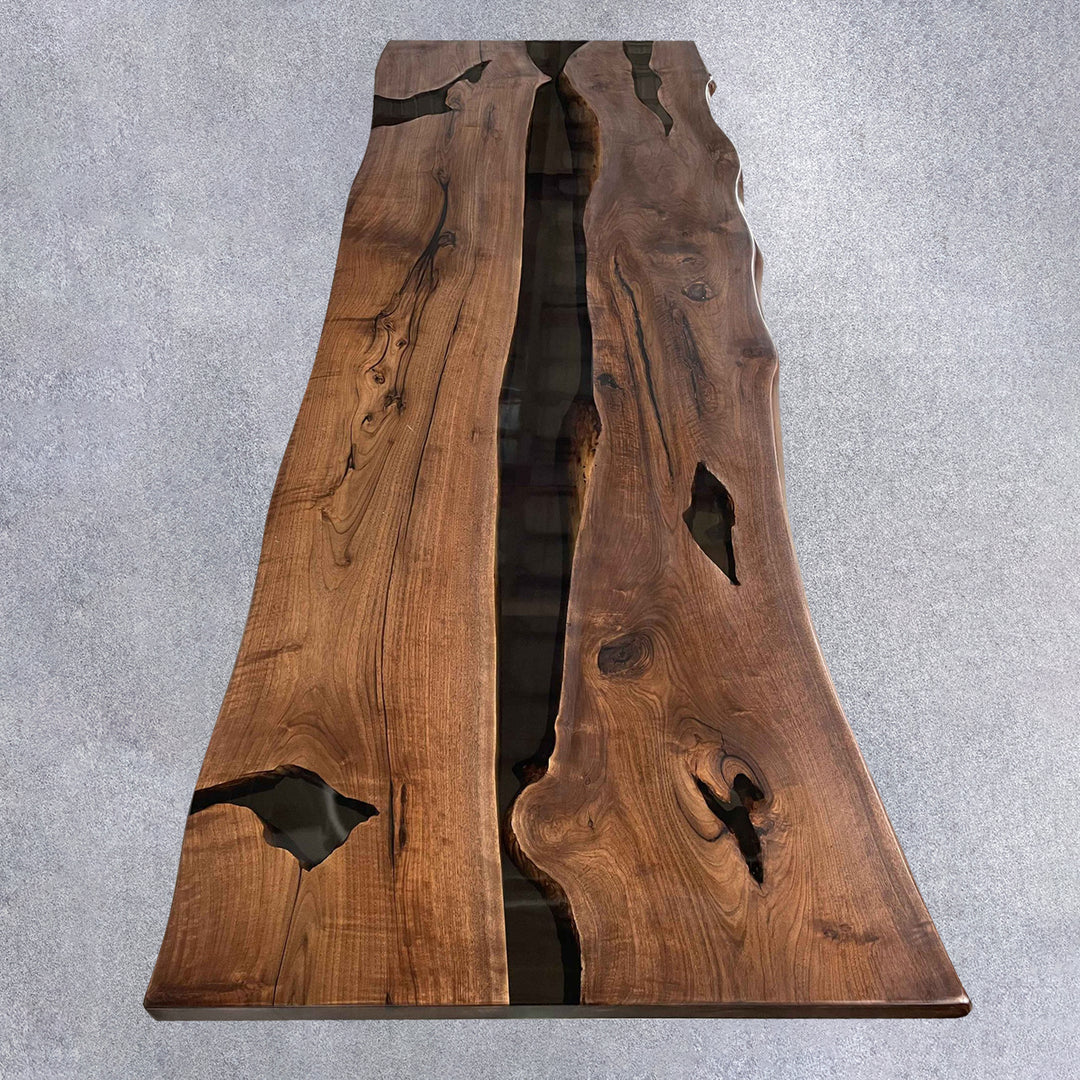
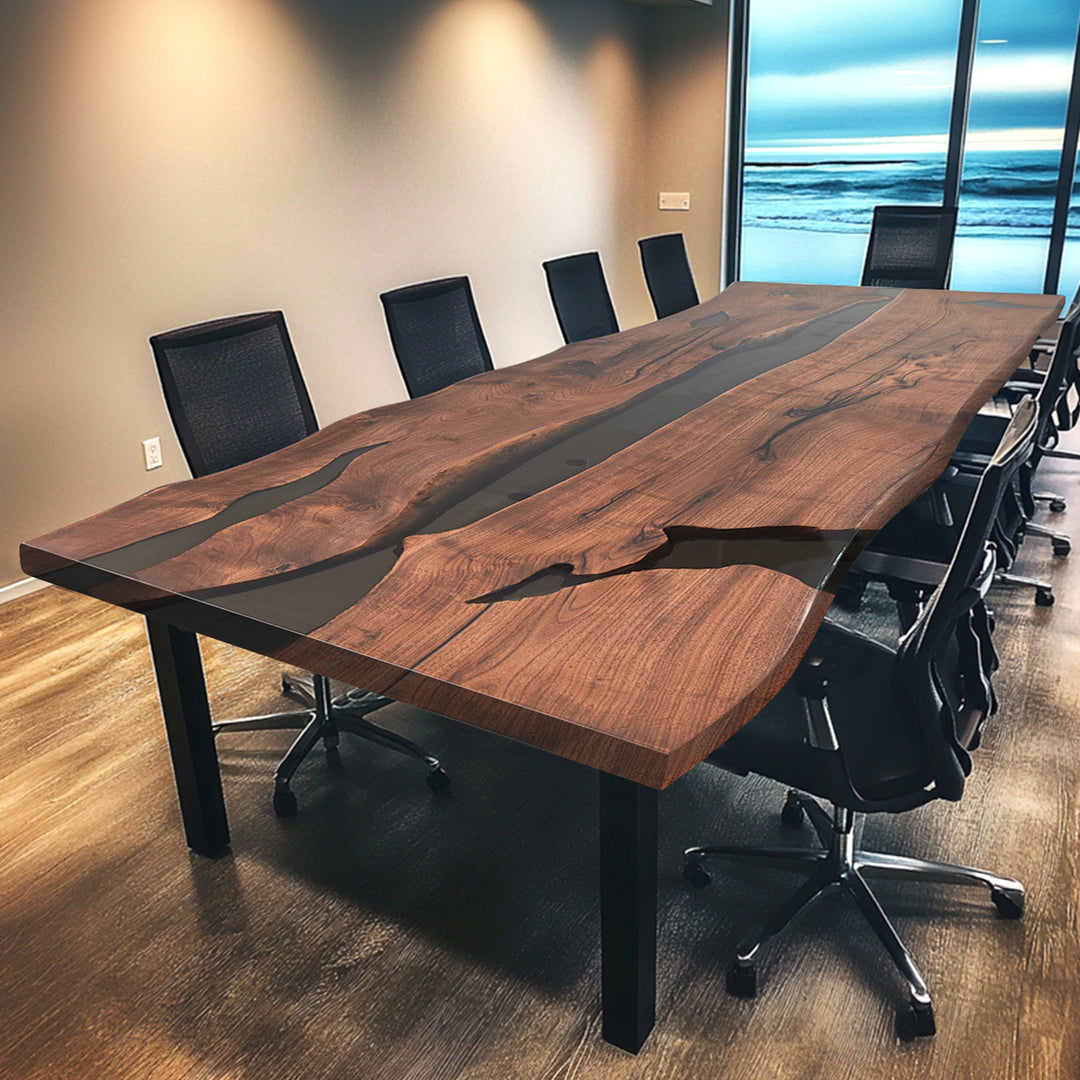
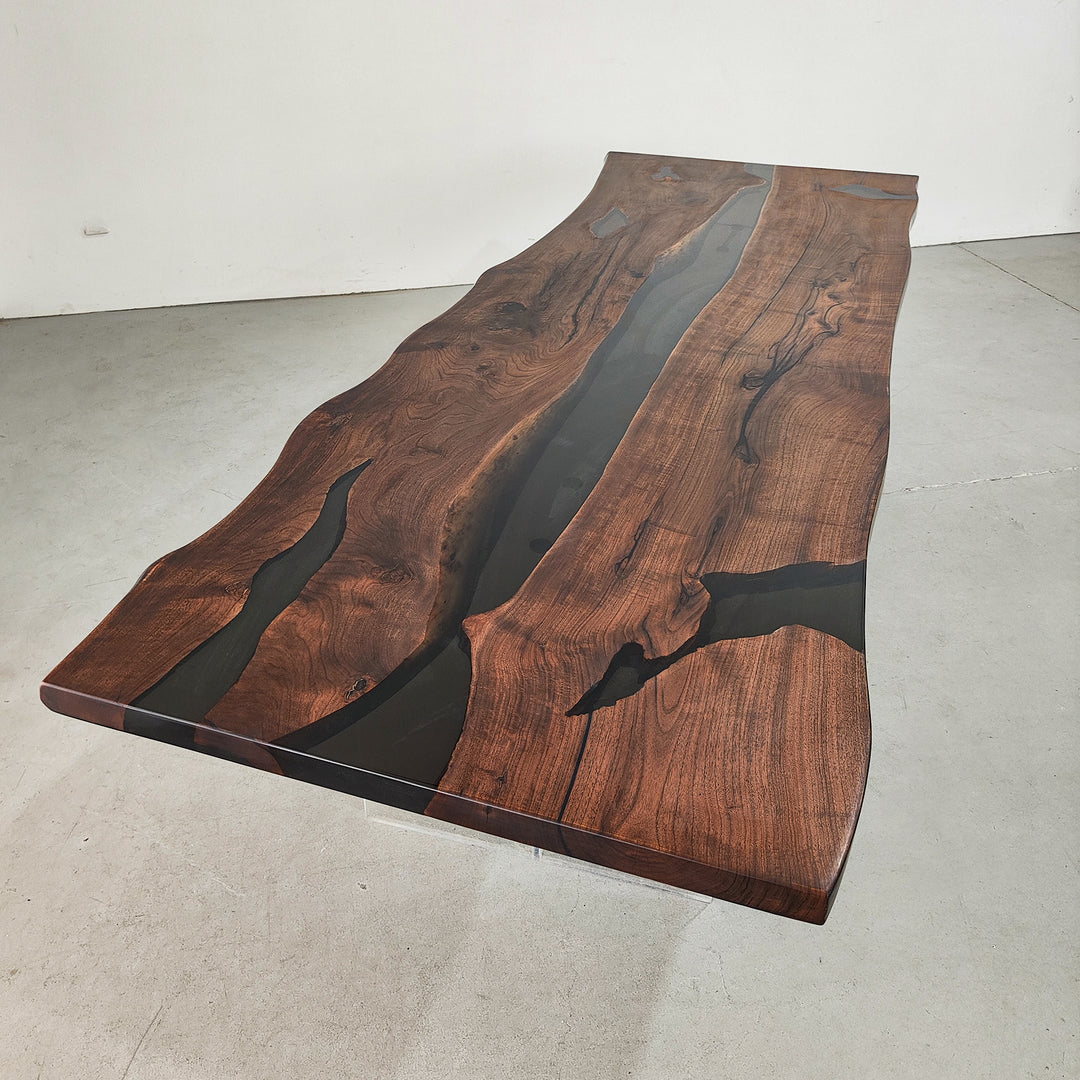
Elevate your dining experience with the stunning Custom Live Edge Epoxy Dining Table (CRT-174). This table combines the raw beauty of live edge wood with the modern flair of epoxy resin, making it a striking centerpiece for any dining area.
Key Features:
-
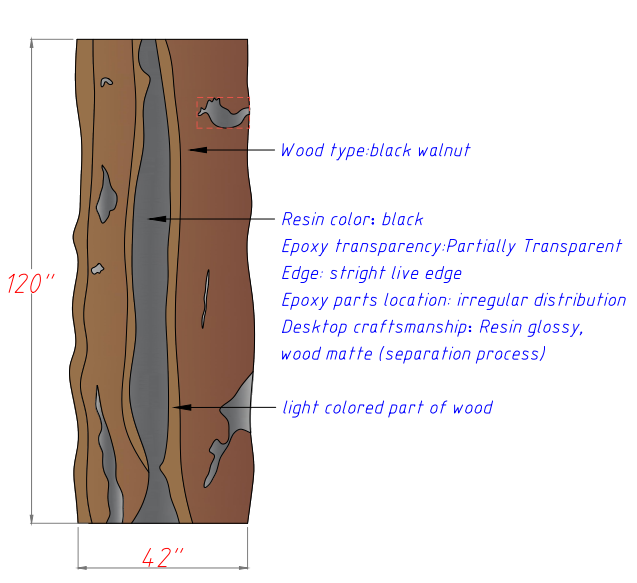
Dimensions:
- Custom sizes are available to fit your specific dining needs. Please inquire for dimensions.
-
Wood Type:
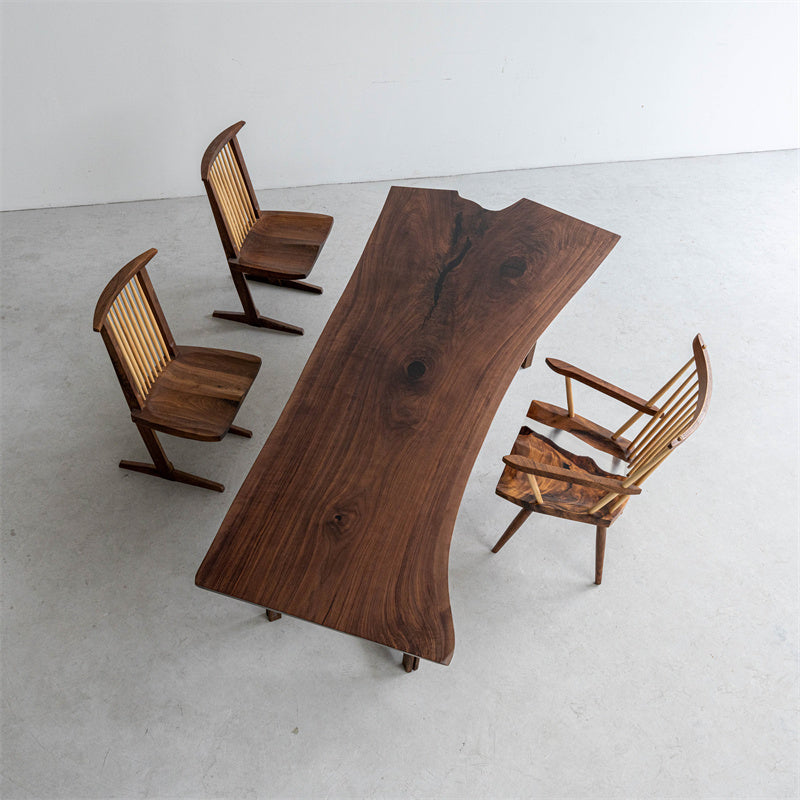
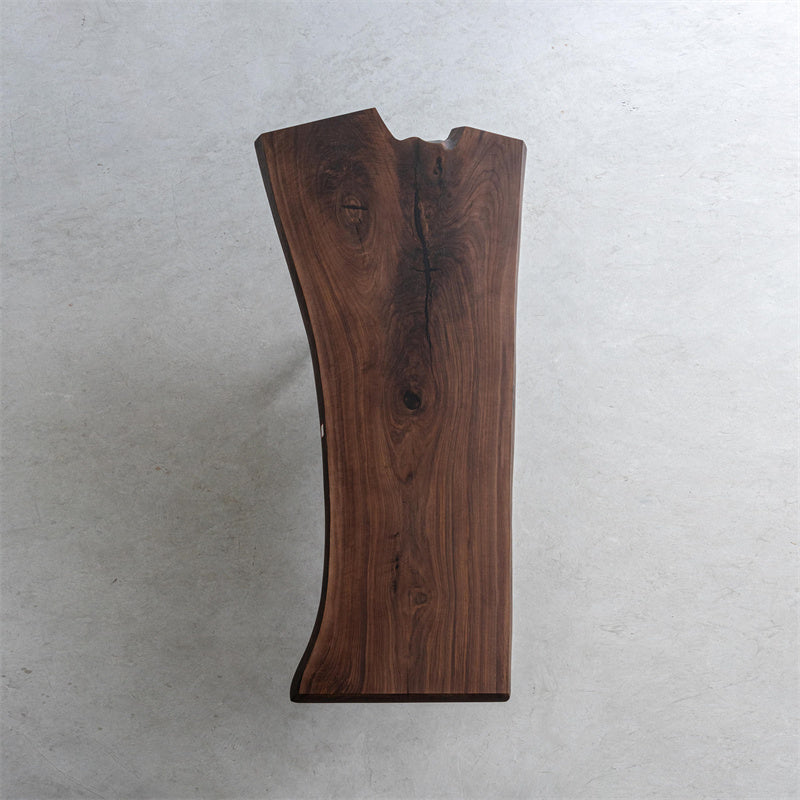
- Crafted from high-quality hardwoods, featuring natural live edges that highlight the organic shape and unique characteristics of the wood.
-
Epoxy Design:
- Includes a vibrant epoxy fill that enhances the live edges, customizable in various colors to create a stunning contrast with the wood and add visual interest.
-
Edge Style:
- The live edge design showcases the natural contours of the wood, providing a rustic yet elegant look that is perfect for modern or traditional settings.
-
Finish Options:
- Available in multiple finishes, including matte or glossy for both wood and epoxy, allowing you to tailor the appearance to your personal style.
Customization Options:
-
Size:
- Tailor the dimensions to suit your dining space, whether you need a large family table or a more intimate setting.
-
Color Options:
- Choose from a variety of resin colors to complement the wood’s natural tones and fit your decor.
-
Base Style:
- Select from a range of base styles, including metal or wood, to enhance the overall aesthetic of the table.
Benefits of Customization:
-
Unique Design:
- Each table is handcrafted, ensuring that no two pieces are alike. Your table will reflect your personal taste and enhance your home decor.
-
Versatile Use:
- Perfect for dining rooms, conference rooms, or as a statement piece in living areas.
The Custom Live Edge Epoxy Dining Table (CRT-174) is more than just furniture; it's a functional work of art that will bring warmth and elegance to your home.
For inquiries regarding customization, pricing, and delivery details, please contact us directly at support@seawavetable.com!