The 13-Step Masterclass: How to Craft a Perfect Epoxy River Table
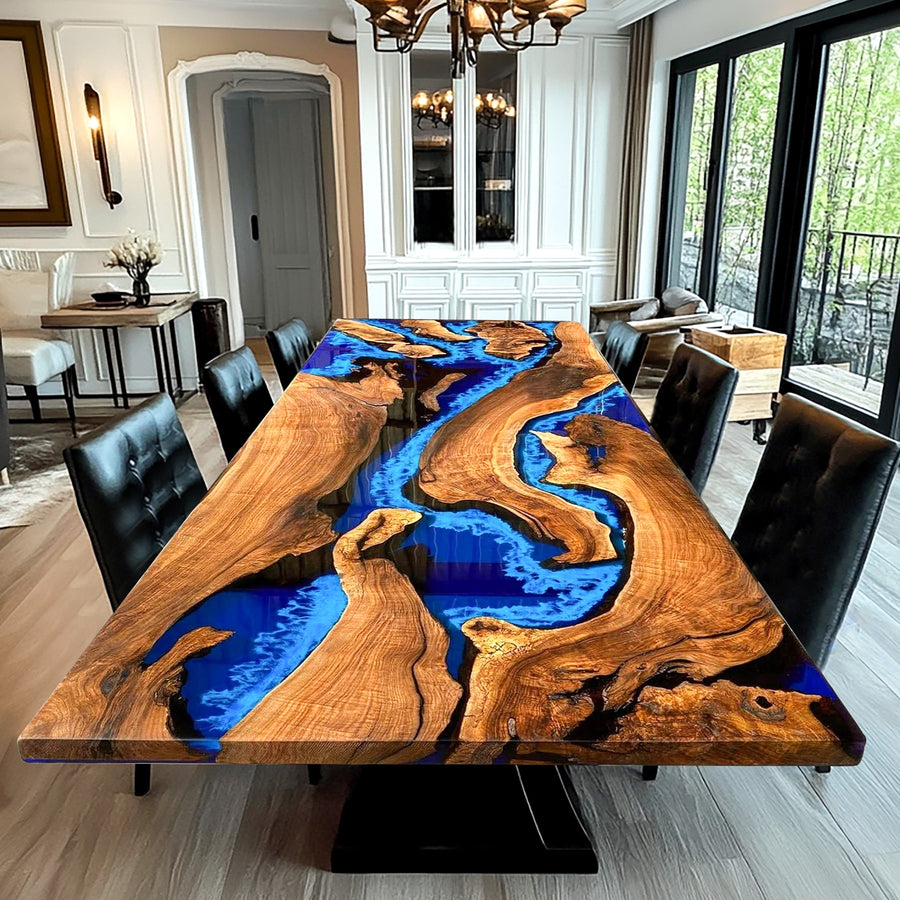
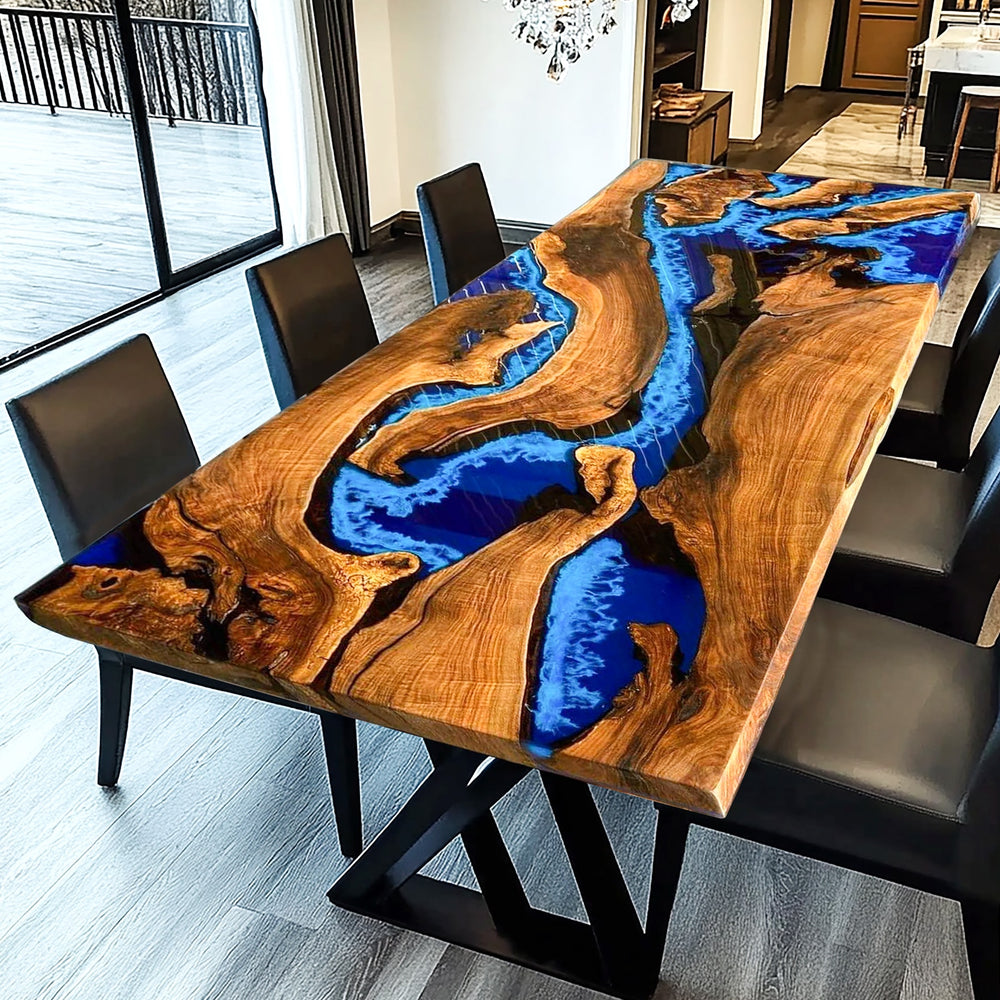
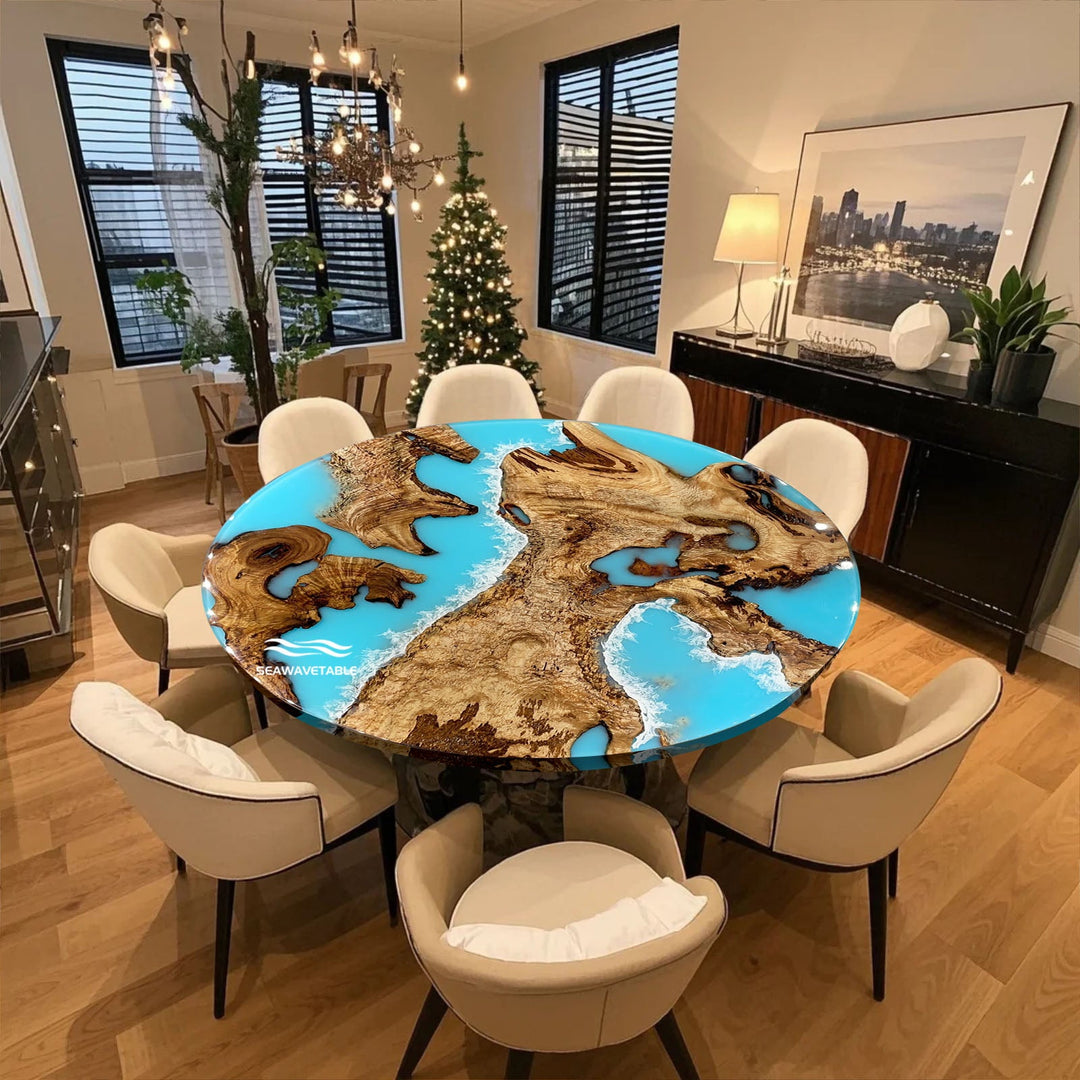
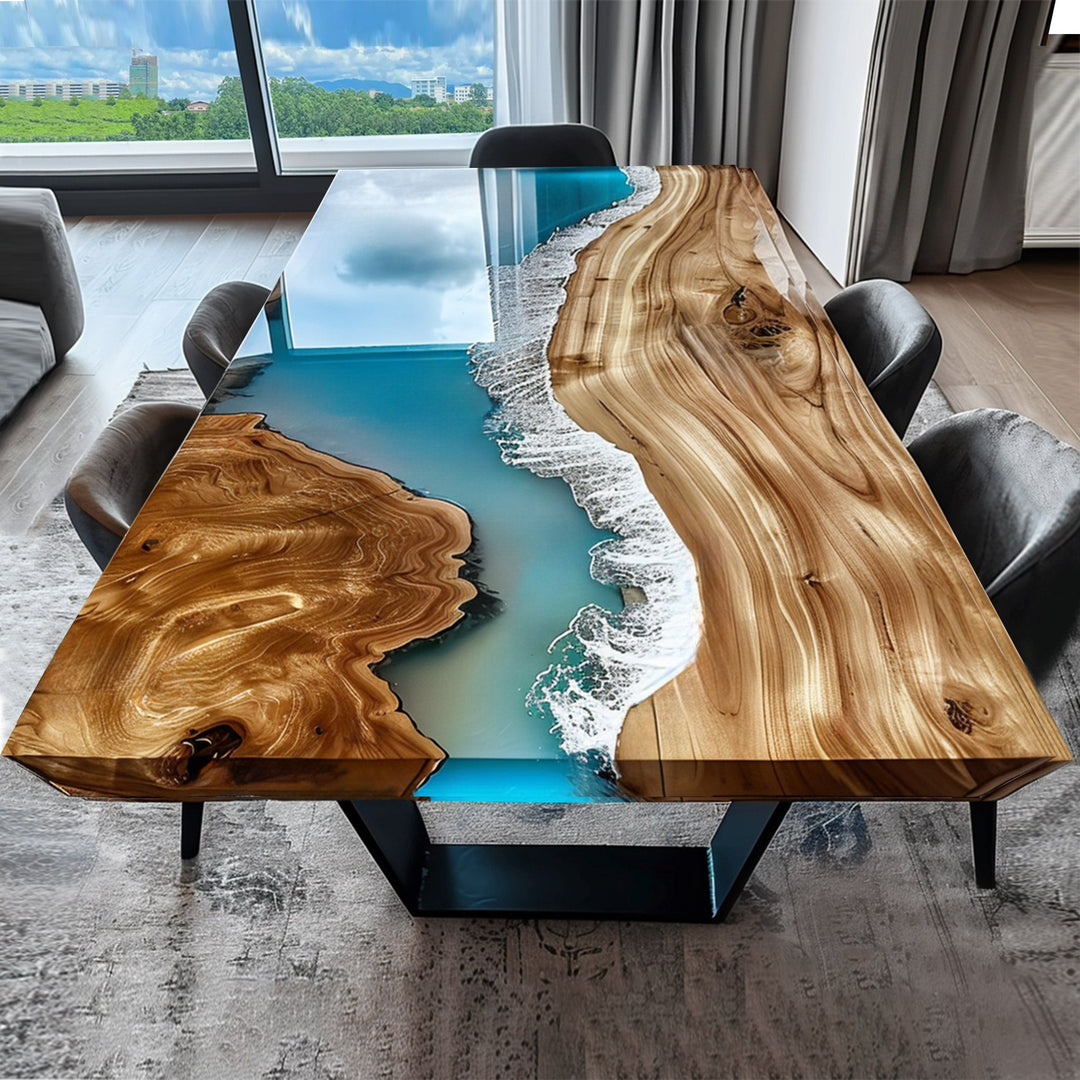
At SEAWAVETABLE, we pride ourselves on creating stunning, one-of-a-kind epoxy river tables that beautifully blend nature and craftsmanship. A river table is not just a table; it’s a flowing piece of art where the wood meets the resin in a seamless connection, creating the illusion of a flowing river or even tranquil ocean waves. In this blog, we’ll walk you through the detailed process of crafting a custom epoxy resin table that is both a work of art and a functional piece of furniture.
1. Wood Selection
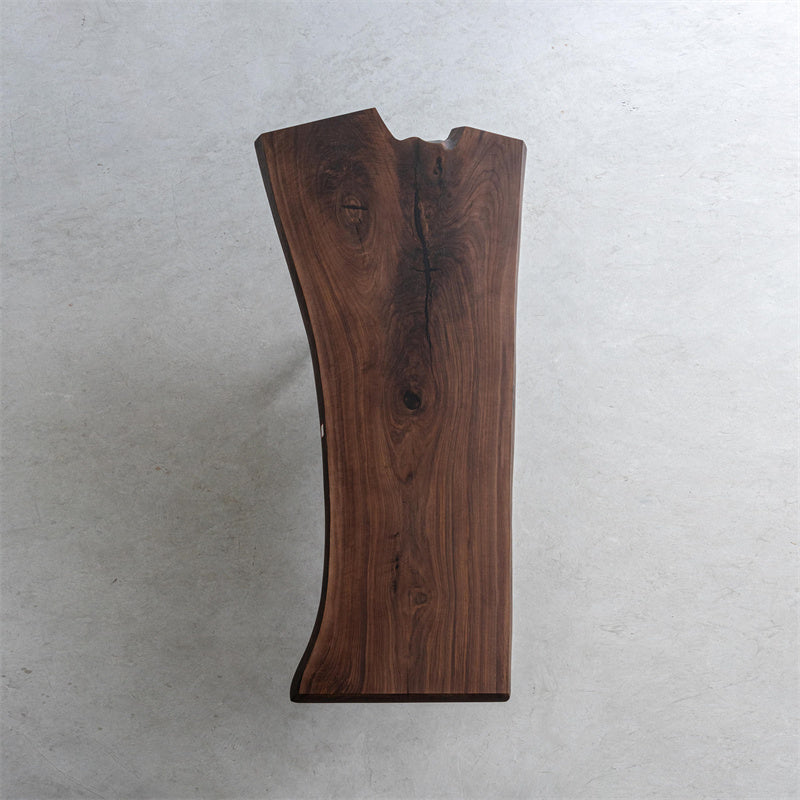
When making a custom epoxy table, selecting the right wood is crucial. At SEAWAVETABLE, we offer a variety of wood types including Black Walnut, Walnut, Ash, Cedar, Poplar, and Olive Wood. Whether you want the natural beauty of a live edge epoxy table or a more structured design, each piece of wood brings its own unique charm.
- Natural Characteristics: We carefully consider features like knots, burls, grain patterns, cracks, and mineral streaks to enhance the beauty of your epoxy table. These natural elements, combined with the resin, create the illusion of a river flowing through your table, adding a sense of movement and vitality.

2. Wood and Color Confirmation
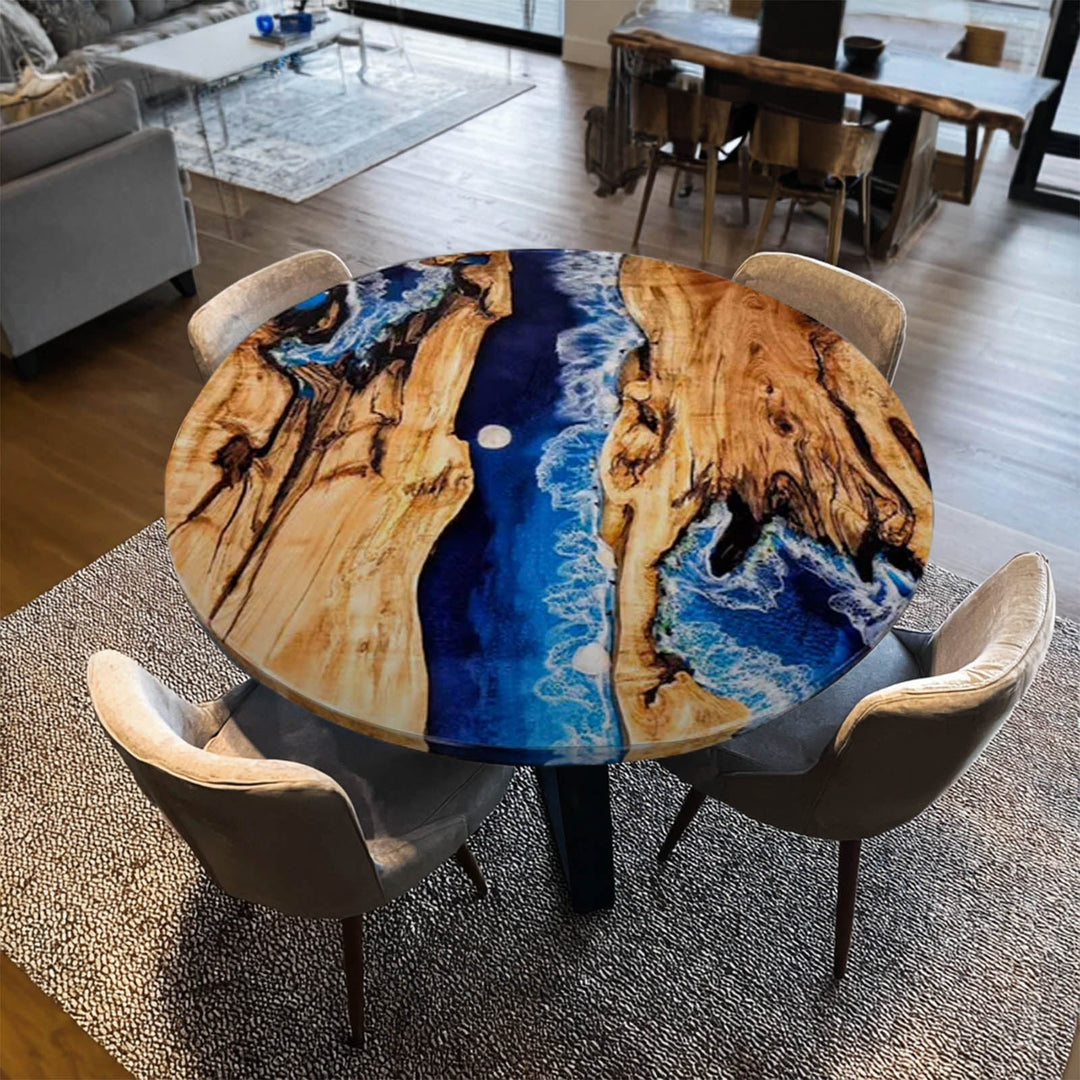
During the selection process, it’s important to confirm both the wood type and color to ensure the best match for your custom epoxy table. This guarantees that your final epoxy resin table meets your expectations. Additionally, you can choose various shades of resin to represent a serene river, vibrant ocean waves, or even deep forests, blending harmoniously with the wood.

3. Material Preparation
Once the wood is selected, it undergoes a thorough cleaning process to remove any impurities, ensuring a smooth texture for the resin table.
- Edge Preparation: Natural wood edges are charred during cutting unless specified otherwise. This adds to the rustic charm of live edge epoxy tables.
4. Resin Application
Applying epoxy resin helps seal the wood, reducing dust and bacteria, and minimizing bubbles during the resin pouring process. This is essential for achieving the smooth, glossy finish that is characteristic of high-quality epoxy river tables.
- Embedding Keepsakes: One unique feature of SEAWAVETABLE is the ability to embed personal keepsakes, mementos, or even jewelry into the resin itself. Whether it's a family heirloom or a symbolic object, these items can be permanently incorporated into the table design, making your epoxy resin table a true conversation piece. Simply send us the details, and our designers will work with you to ensure the best placement and finish.

5. Sizing and Shaping
Next, the wood is trimmed and shaped according to the specific dimensions of your custom epoxy table design. Whether it’s a large dining table or a smaller coffee table, precise sizing ensures a perfect fit.
6. Resin Preparation
To prepare the epoxy resin, we use a vacuum machine to remove any small bubbles. This process, which takes 30-60 minutes, ensures the resin table will have a flawless finish without imperfections.
7. Resin Pouring
The resin is poured in layers, with each layer needing 2 days to solidify. A typical epoxy table requires 3-5 layers, but more layers may be necessary for specific effects like ocean waves. Each layer is carefully monitored, and any bubbles are removed with a blowtorch to achieve a pristine, glass-like surface that captures the essence of flowing rivers or rippling ocean currents.
8. Demolding
Once the epoxy river table has fully cured, it is removed from the mold, revealing the beautiful combination of wood and resin, often mimicking the appearance of water flowing smoothly around islands or rocks.
9. Excess Wood Removal
Sanding off any excess wood is an important step to ensure the custom epoxy table has a smooth, seamless surface.
10. Sanding and Varnishing
We sand the epoxy table multiple times and apply scratch-resistant varnish. This process is repeated 5-6 times to achieve a durable and polished finish. Before applying the first coat of varnish, the surface is cleaned with thinner to enhance the natural color of the wood.
11. Inspection and Resin Touch-Up
Before finalizing the resin table, we inspect it thoroughly to ensure all resin gaps are filled and the surface is smooth and polished.
12. Final Spray Painting
A final coat of varnish is applied using a spray gun in a dust-free environment, giving the epoxy resin table its signature glossy finish.
13. Final Inspection and Packaging
After a final inspection, the custom epoxy table is carefully packaged to ensure it arrives in perfect condition. Our packaging includes:
- One layer of pearl cotton for cushioning
- A fabric layer to prevent scratches
- Cardboard for structural protection
- Fabric strips to wrap the edges
- A wooden frame for added security during transit
Crafting an epoxy river table is a meticulous process that combines artistry and precision. At SEAWAVETABLE, we ensure that every epoxy resin table we produce is not only visually stunning but also built to last. Whether you’re looking for a custom epoxy table to be the centerpiece of your dining room or a live edge epoxy table to enhance your living space, our team is here to create something truly special.
With the option to embed meaningful items into the resin, we offer a chance to personalize your resin table even further, making it a unique reflection of your personal style and memories.


