How to Restore Your Epoxy Table: Easy Scratch Repair Guide
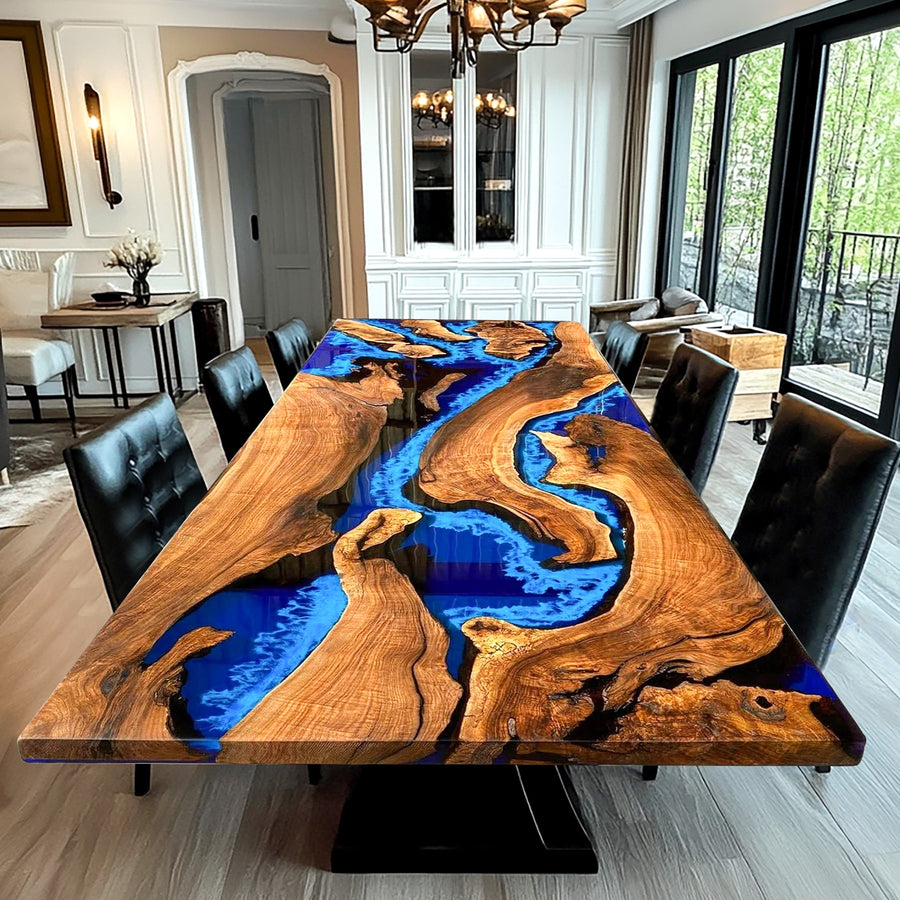
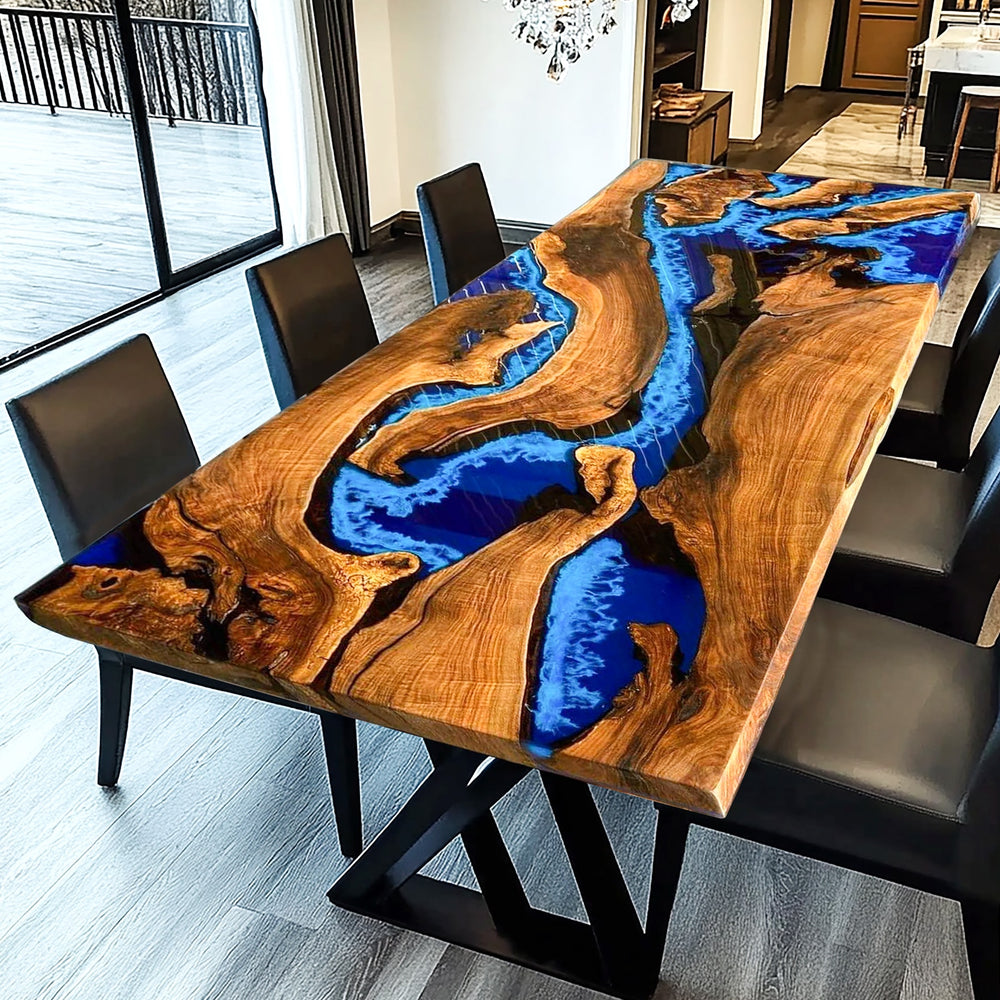
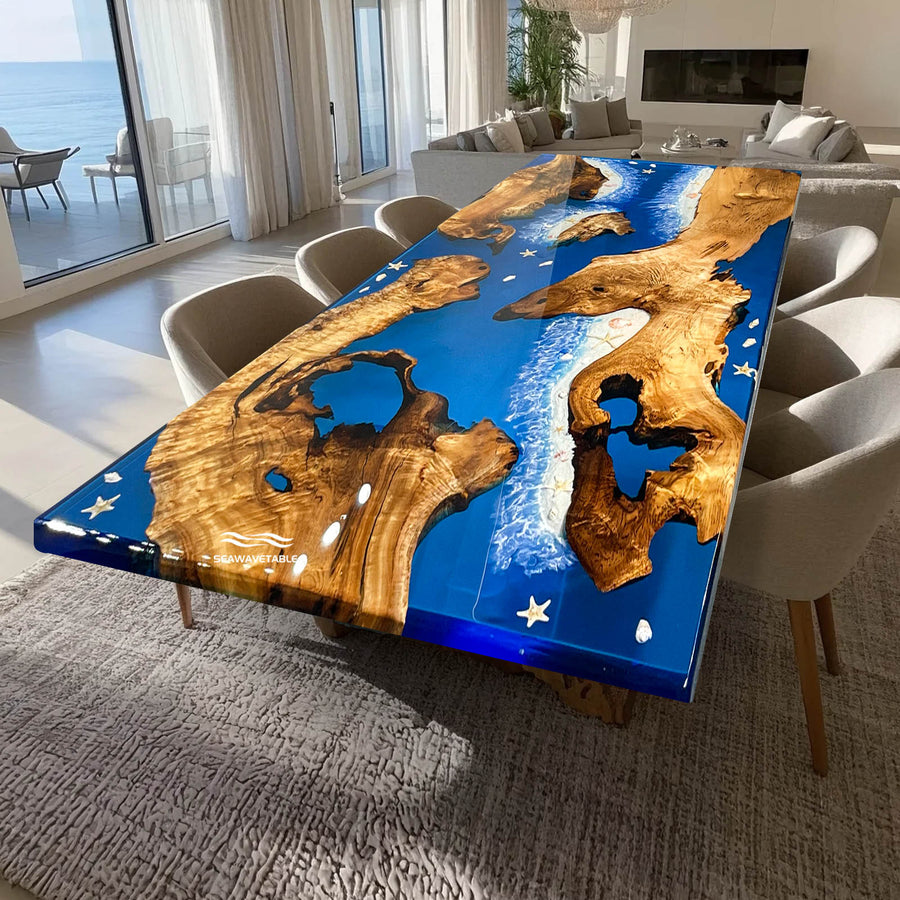
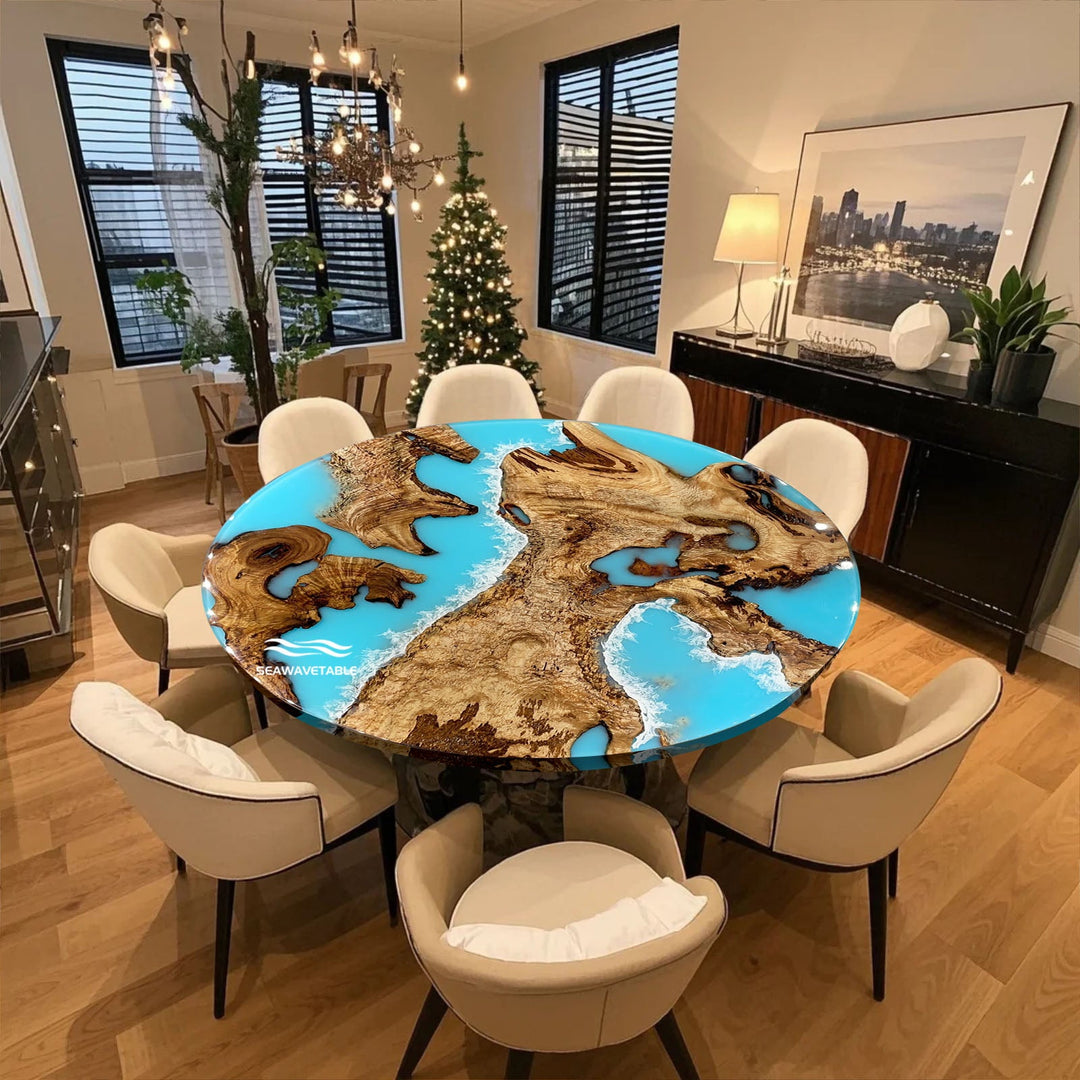
Epoxy tables are admired for their crystal-clear, glass-like finish, making them a stunning addition to any space. However, as durable as epoxy resin can be, scratches and scuffs can accumulate over time, especially in high-traffic areas. Proper maintenance, preventive care, and knowing how to address scratches are key to preserving your table’s original beauty.

In this guide, we'll cover:
- How to Care for Your Epoxy Table and Prevent Scratches
- Scratch Rating: Identifying Light, Medium, and Deep Scratches
- Detailed Steps for Repairing Epoxy Table Scratches
- Getting Professional Help from SeawaveTable's Resin Furniture Experts
How to Care for Your Epoxy Table and Prevent Scratches
Proper maintenance is the best way to avoid scratches and keep your epoxy table looking pristine. Here are a few tips to protect your table’s surface:
- Use Coasters and Placemats: This reduces the risk of scratches from plates, cups, and utensils. It’s especially important for items with rough bottoms or made of ceramic.
- Avoid Harsh Cleaners: Stick to mild soap and water or a soft microfiber cloth for cleaning. Abrasive cleaners or scrub brushes can create micro-scratches that dull the surface.
- Add Felt Pads to Decorative Items: Anything left on the table for long periods, like vases or centerpieces, should have felt pads on the base to avoid potential scratches from movement.
- Be Mindful with Hot Items: While epoxy resin is heat-resistant, extreme temperatures can affect its integrity. Use trivets or hot pads for items like hot pots or serving dishes to protect the finish.
By following these steps, you’ll significantly reduce the risk of scratches. But if they do appear, rest assured—there are solutions for every level of scratch.
Scratch Rating: Identifying Light, Medium, and Deep Scratches
Before starting the repair process, it’s helpful to understand the depth of the scratch so you can choose the right method. Here’s a quick guide to rating scratches:
-
Light Scratches: These are surface-level, barely visible scratches, often called “micro-scratches.” They don’t catch your fingernail when you run it over the surface and can usually be polished out.
-
Medium Scratches: These are visible and slightly deeper. Your fingernail may catch a bit when running over these scratches. Medium scratches typically require light sanding and polishing.
-
Deep Scratches: These scratches are noticeable and create a visible groove in the resin. If left untreated, they may weaken the surface or collect dust and dirt. Deep scratches may require additional epoxy to fill in the groove.
Steps for Repairing Epoxy Table Scratches
Now that you know the scratch level, here’s a step-by-step guide to removing each type.
1. Light Scratch Repair (Polishing)
- Step 1: Clean the area with mild soap and water to remove any dirt or debris.
- Step 2: Apply a small amount of epoxy polishing compound to a microfiber cloth or polishing pad.
- Step 3: Rub the compound over the scratched area in a gentle, circular motion until the scratch fades.
- Step 4: Wipe off excess polish with a clean cloth, and buff the area to restore the shine.
2. Medium Scratch Repair (Sanding and Polishing)
- Step 1: Start by cleaning the area to remove any dust or dirt.
- Step 2: Use wet sanding with fine-grit sandpaper (start with 1200 grit and increase to 3000) to gently sand the scratch in a circular motion. Wet sanding reduces heat and prevents further scratching.
- Step 3: Once the scratch is blended, clean the area and dry it completely.
- Step 4: Use a polishing compound with a microfiber cloth to polish the area back to a glossy finish.
3. Deep Scratch Repair (Filling and Polishing)
- Step 1: Clean the scratched area thoroughly and let it dry.
- Step 2: Prepare a small batch of clear epoxy resin following the manufacturer’s instructions.
- Step 3: Carefully apply a small amount of epoxy resin into the scratch using a fine brush or applicator. Be cautious not to overfill the scratch.
- Step 4: Allow the epoxy to cure completely (typically 24-48 hours).
- Step 5: After curing, sand the area lightly using fine-grit sandpaper (1200 to 3000 grit), then polish it with a polishing compound until the surface is restored to its original clarity and shine.
When to Seek Help from SeawaveTable’s Professional Team
If scratches are extensive, or if you’re uncertain about DIY repair, SeawaveTable’s team of resin furniture experts is here to help.
SeawaveTable is known for producing high-quality, custom epoxy tables that are as durable as they are beautiful. Our team has extensive experience with both scratch repairs and full table restorations, ensuring your piece remains a focal point in your home for years to come.
Final Thoughts
Restoring your epoxy table is straightforward with the right tools and techniques. By following this guide, you can easily repair light to deep scratches and maintain the table’s beauty. And if you’d like expert assistance, reach out to SeawaveTable’s professional team. Our expertise in resin furniture can ensure that every detail is perfectly restored.


