How to Customize Your SEAWAVE Epoxy Wood Table: A Comprehensive Guide
When it comes to creating a personalized epoxy resin table at SEAWAVETABLE, the possibilities are endless. Whether you're envisioning a dining table, coffee table, office desk, conference table, console table, side table, or even a kitchen countertop, SEAWAVE can craft a piece that perfectly aligns with your style and needs.
Types of Epoxy Tables You Can Customize
At SEAWAVE, you can choose from a variety of epoxy table designs, each offering unique aesthetic and functional qualities:
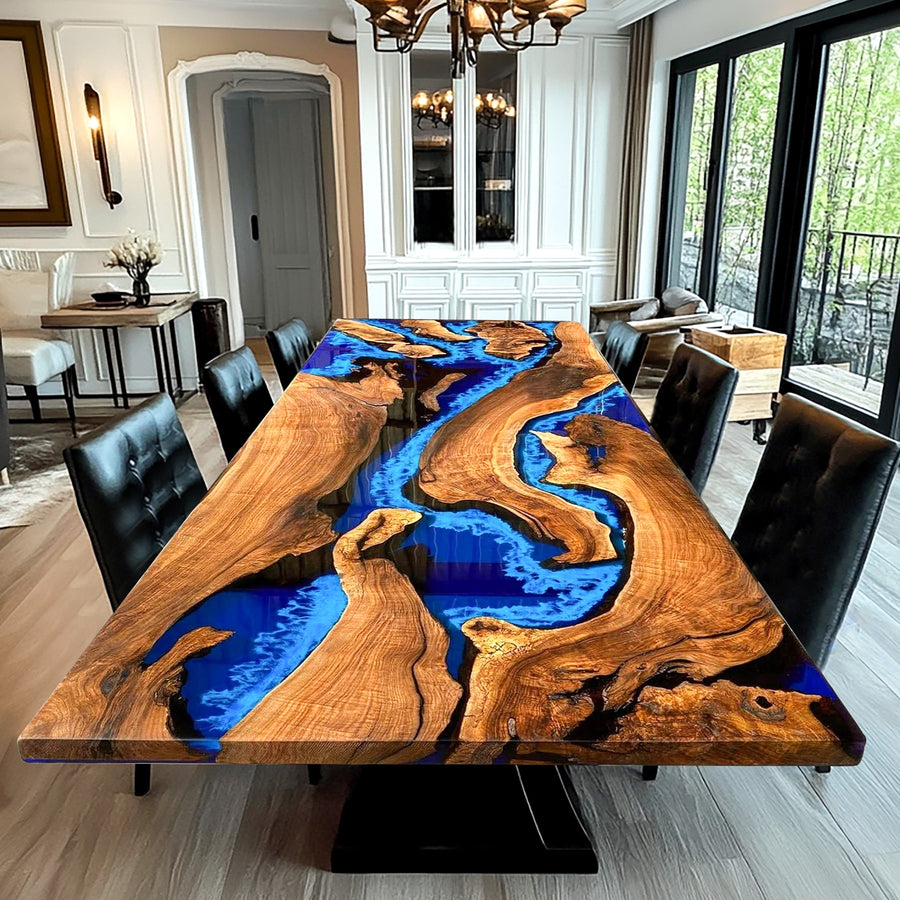
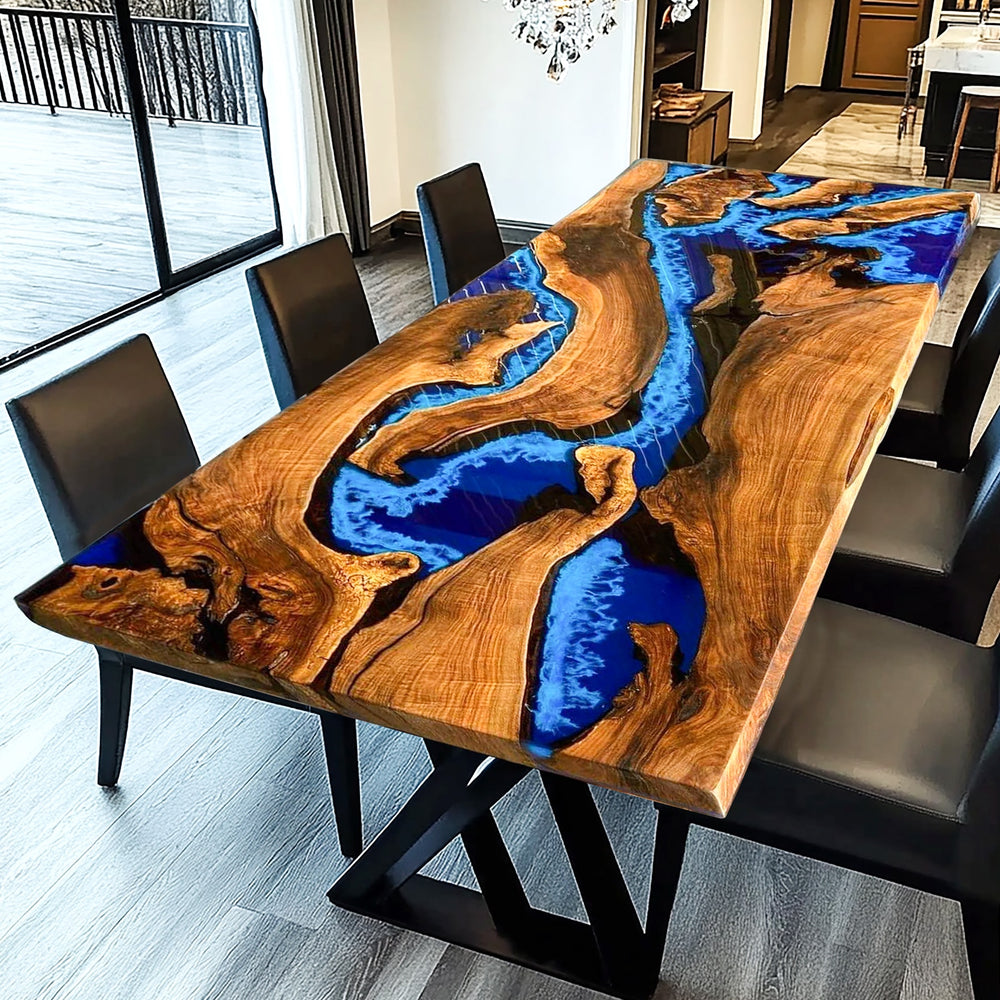
- River Tables:Featuring a central resin "river" flowing between two pieces of wood, often enhanced with stones, pebbles, or even LED lights.
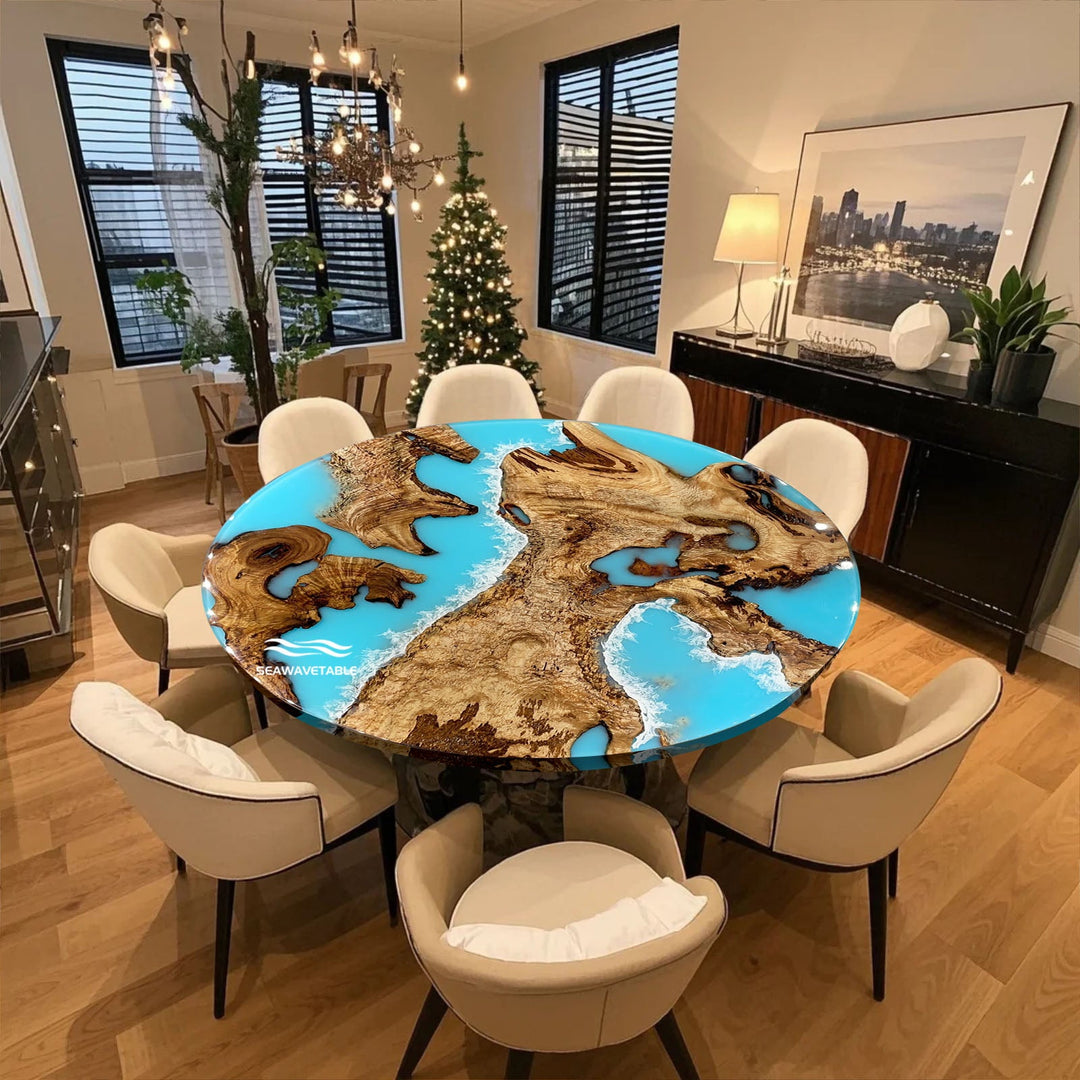
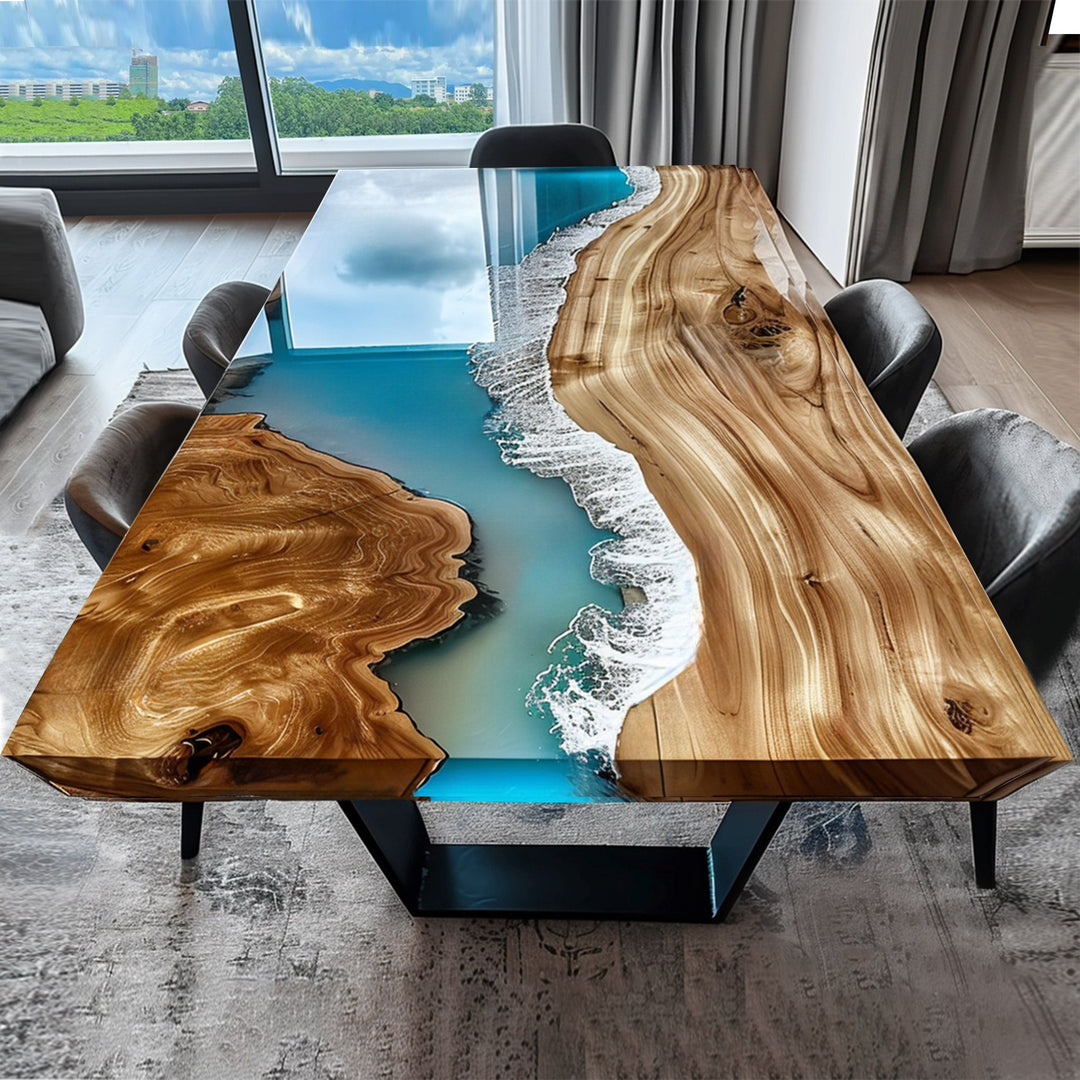
- Ocean Tables:Designed to replicate the ocean's beauty, often using blue or turquoise resin with elements like sand, shells, or coral.
- Clear Epoxy Tables:Transparent resin showcasing the natural beauty of the wood or embedded objects, creating a floating or 3D effect.

Now, let's dive into how you can customize these stunning pieces to fit your specific requirements.
Step 1: Choose Your Wood Material
The first step in customizing your epoxy table is selecting the wood that will pair with the resin. SEAWAVE offers a range of high-quality woods, including:
- Black Walnut
- Walnut
- Ash
- Poplar
- Olive
- Rain Tree
- Maple
- Sandalwood
- Zebrano
- Camphor
- And other available wood options

Each wood type has its own unique grain pattern and color, allowing you to choose one that best suits your aesthetic preferences.
Step 2: Select the Edge Style
Next, decide on the edge style for your table. You can opt for:
- Live Edge:Showcasing the natural, organic contours of the wood.
- Straight Edge:Clean, precise cuts for a more modern look.

Step 3: Determine the Table Shape
Once the wood is selected, you can choose the shape of your epoxy table based on your space and personal preferences. Options include:
- Rectangular
- Round
- Square
- Oval
- Irregular or Freeform

The shape of your table can dramatically influence the room's ambiance, so choose one that complements your space.
Step 4: Customize the Table Size
Tailor the size of your table to your specific needs. Below are some suggested dimensions for different table shapes:
Round Dining Table
- For 2 people: 36-42 inches in diameter
- For 4 people: 42-48 inches in diameter
- For 6 people: 54-60 inches in diameter
- For 8 people: 60-72 inches in diameter
- For 10 people: 72-84 inches in diameter
- For 12 people: 84-96 inches in diameter

Rectangular Dining Table
- For 4-6 people: 60-72 inches long by 36-42 inches wide
- For 6-8 people: 72-84 inches long by 36-42 inches wide
- For 8-10 people: 84-96 inches long by 40-48 inches wide
- For 10-12 people: 96-108 inches long by 40-48 inches wide
- For 12-14 people: 108-120 inches long by 40-48 inches wide

Square Dining Table
- For 4 people: 36-44 inches on each side
- For 6 people: 48-54 inches on each side
- For 8 people: 60-72 inches on each side
- For 10 people: 72-84 inches on each side

Oval Dining Table
- For 4 people: 60 inches long by 36 inches wide
- For 6 people: 72 inches long by 42 inches wide
- For 8 people: 84 inches long by 42 inches wide
- For 10 people: 96 inches long by 48 inches wide

Step 5: Choose the Resin Color and Placement
SEAWAVE offers a broad palette of resin colors, allowing you to create a table that aligns with your interior design. Choose from:
- White
- Gray
- Blue
- Green
- Black
- Red
- Orange
- Custom Colors

Resin Placement Options:
- In the Middle:The resin is placed centrally between the wood slabs, creating a "river" effect.
- On the Sides:Resin is applied along the edges of the wood, framing the center and emphasizing the natural grain.
- Irregular Distribution:For a more artistic and unique look, the resin can be distributed irregularly across the wood surface, creating a dynamic and visually striking pattern.

You can even specify patterns or unique color blends to achieve the exact look you desire.
Step 6: Decide on Resin Transparency and Depth
Another important aspect of customization is the resin's transparency. SEAWAVE offers three levels of transparency:
- Transparent:Perfect for showcasing embedded objects or highlighting the wood's natural grain.
- Translucent:Adds a touch of mystery while still allowing some visibility.
- Opaque:For a bold, solid appearance.

Step 7: Add Special Inlays or Resin Patterns
If you wish to add a personal touch, you can request inlays of special objects or unique resin patterns. Simply describe your vision in our customization form or upload an image of your ideal table. Our designers will then create a CAD drawing tailored to your specifications, ensuring the final product exceeds your expectations.

Final Thoughts
Customizing an epoxy table at SEAWAVE is a collaborative and creative process that allows you to bring your unique vision to life. By following these steps, you can create a table that not only serves as a functional piece of furniture but also as a stunning work of art in your home or office.
Ready to get started? Visit SEAWAVE today and begin designing your custom epoxy table.


